How to Configure WordPress on AWS EC2 Instance by Using RDS (Relational Database Service)
DevOps Engineer with 3+ years of industrial experience | DevOps Enthusiastic | Working on projects with Linux, Jenkins, Docker, Ansible, Terraform, AWS S3, Lambda, EC2, DynamoDB | Java/J2EE Developer etc.
WordPress is a highly popular content management system (CMS) that is used for over 30% of all sites on the internet. It is most commonly used for blogs but can also be used for running e-commerce sites, message boards, and many other popular use cases.
MySQL is an open-source relational database management system (RDBMS) that can be easily implemented and managed either on-premise or via the cloud through a hosting provider.
With Amazon RDS for MySQL, we get automated backup and recovery so that you won’t lose data in the event of an accident; regular updates and patches, keeping your database secure and performant and easy installation with smart default parameters.
In this blog, we’ll see how to configure a WordPress installation using Amazon RDS for MySQL. To configure this WordPress site, you will create the following resources in AWS:
An Amazon EC2 instance to install and host the WordPress application.
An Amazon RDS for MySQL database to store your WordPress data.
We can divide this project into five sections, for us to make it easy to understand:
Create an EC2 Instance.
Create a MySQL Database with Amazon RDS.
Configure WordPress/Install LAMP on Amazon Linux 2
Explore the newly set Website.
Create an EC2 Instance
Firstly, we need to launch an AWS EC2 instance as follows:
Services Used: EC2
Go to your AWS Management Console > EC2 > Launch Instances:
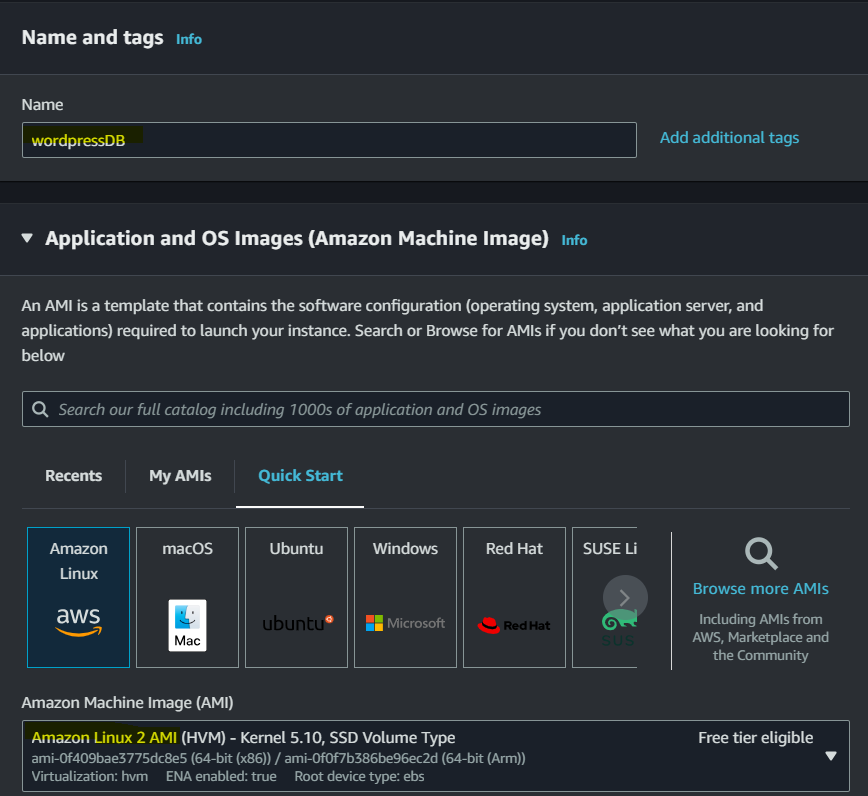
Name: wordpressDB
Amazon Machine Image: Amazon Linux 2 AMI
Instance Type: t2.micro
Key-Pair Login: Select accordingly.
Select the following for Network settings:
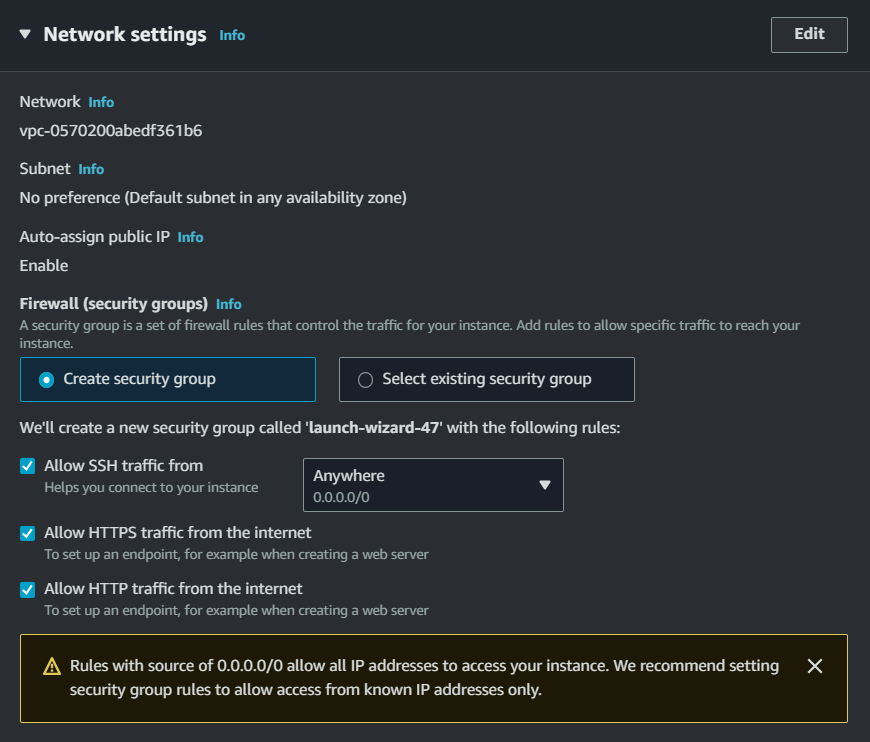
And then click on Launch Instance in the Summary Section.
In the Instances section you can see that the Instance you created just now is up and running.
Create a MySQL Database with Amazon RDS
Services Used: Amazon RDS
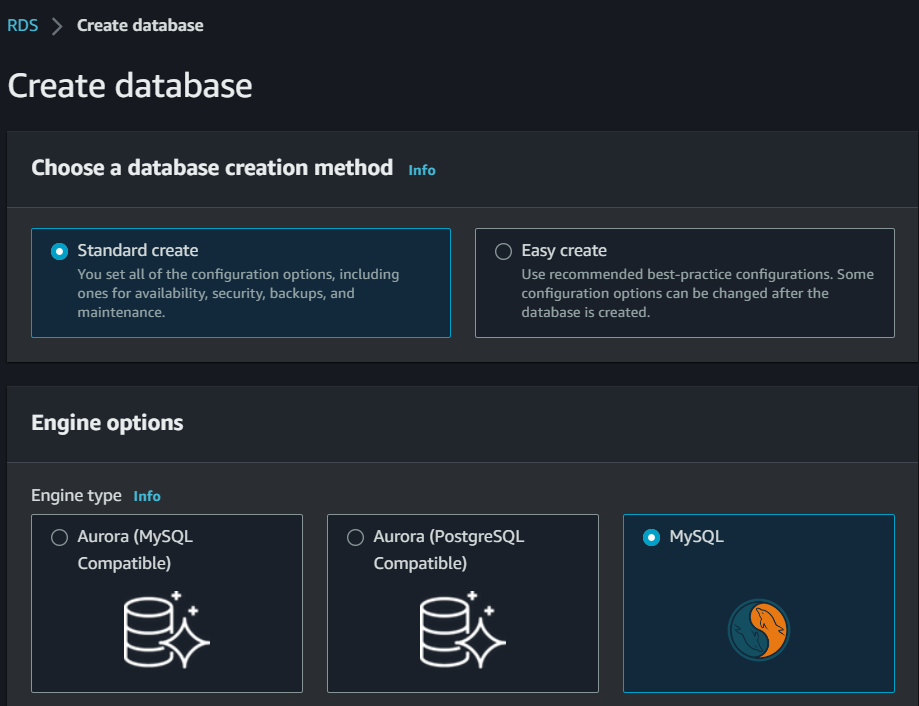
Go to AWS Management Console > Search and Select RDS > Click on Create Database.
Choose a database creation method: Standard create
Engine options: MySQL
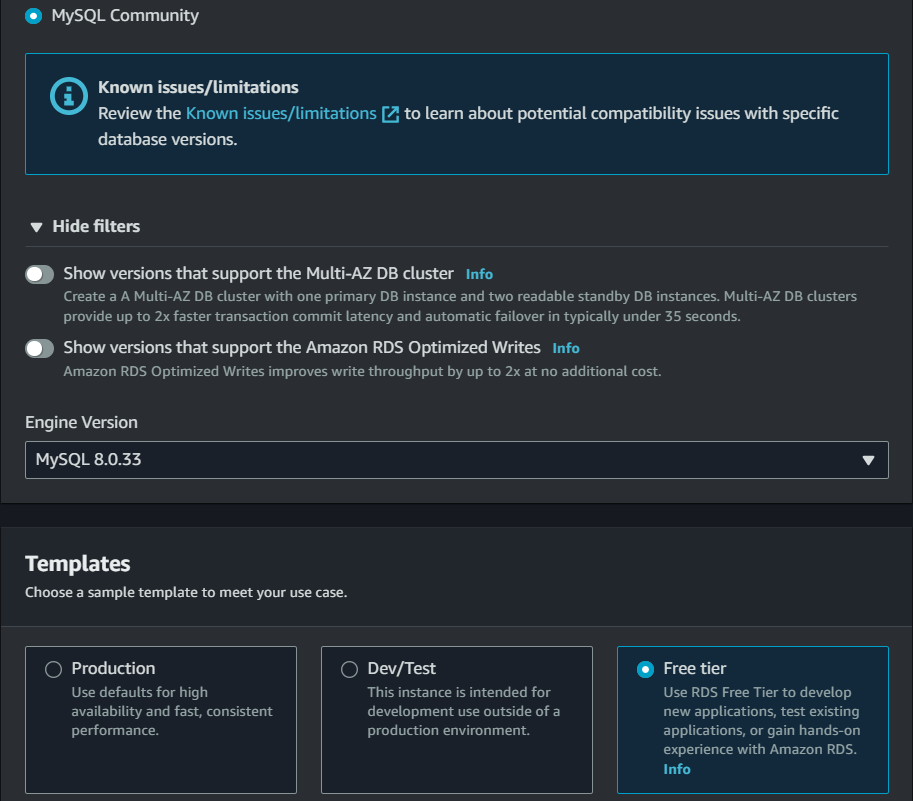
Templates: Free tier
Settings:
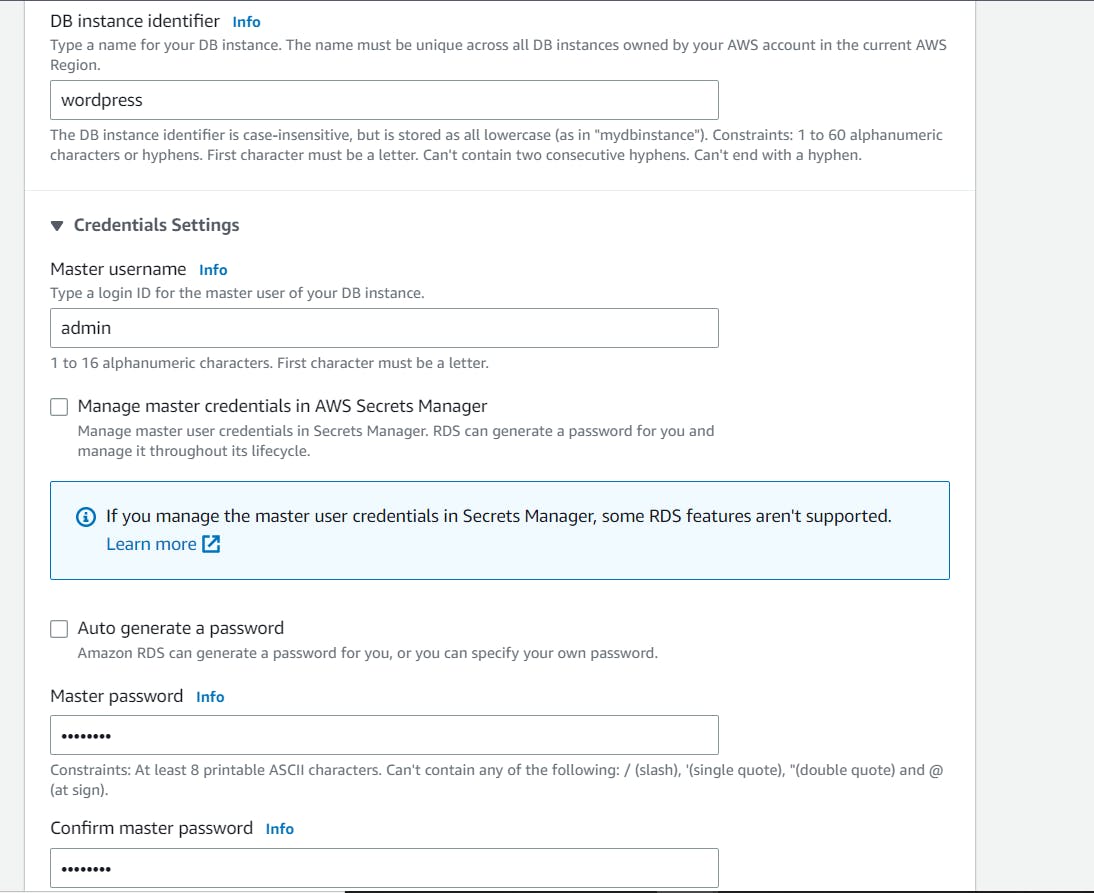
DB instance identifier: wordpress
Master username: admin
Give the password you require according to the ASCII rules.
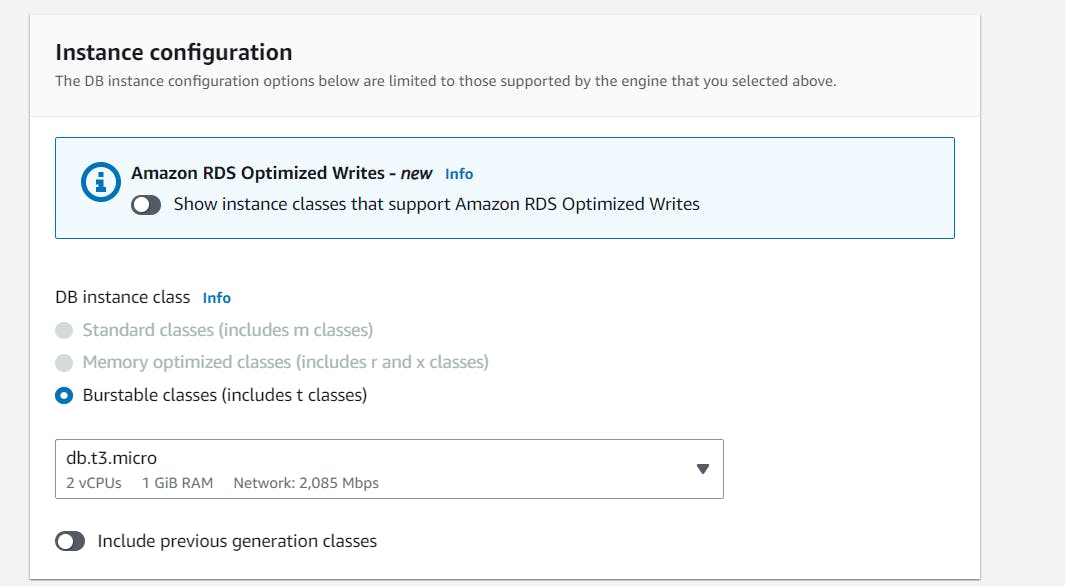
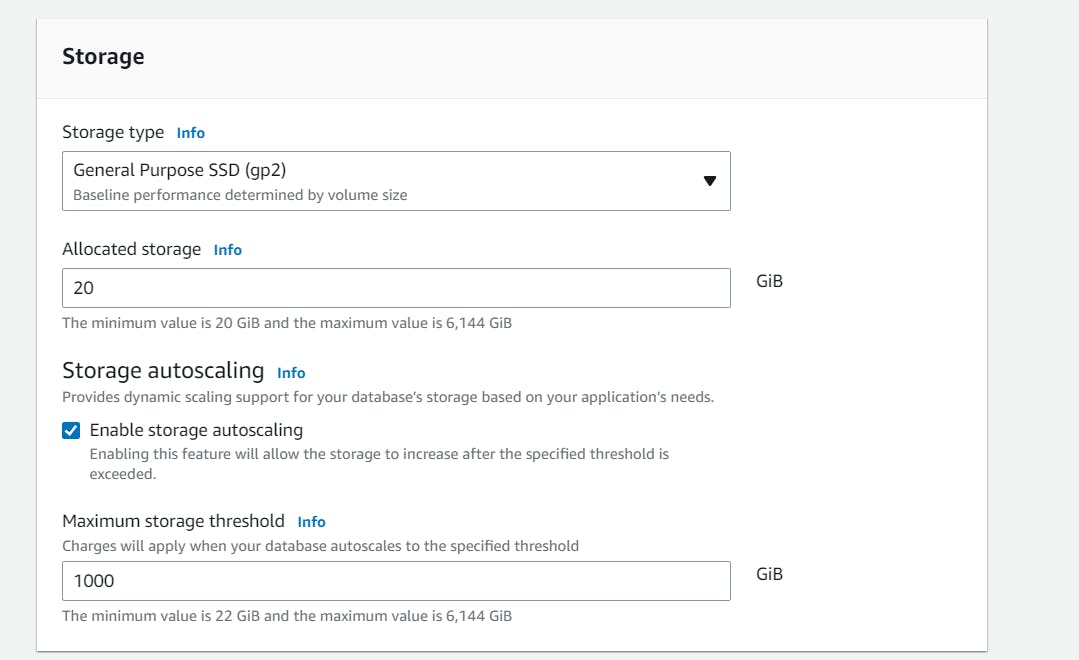
Let the Instance Configuration & Storage be the default for this project.
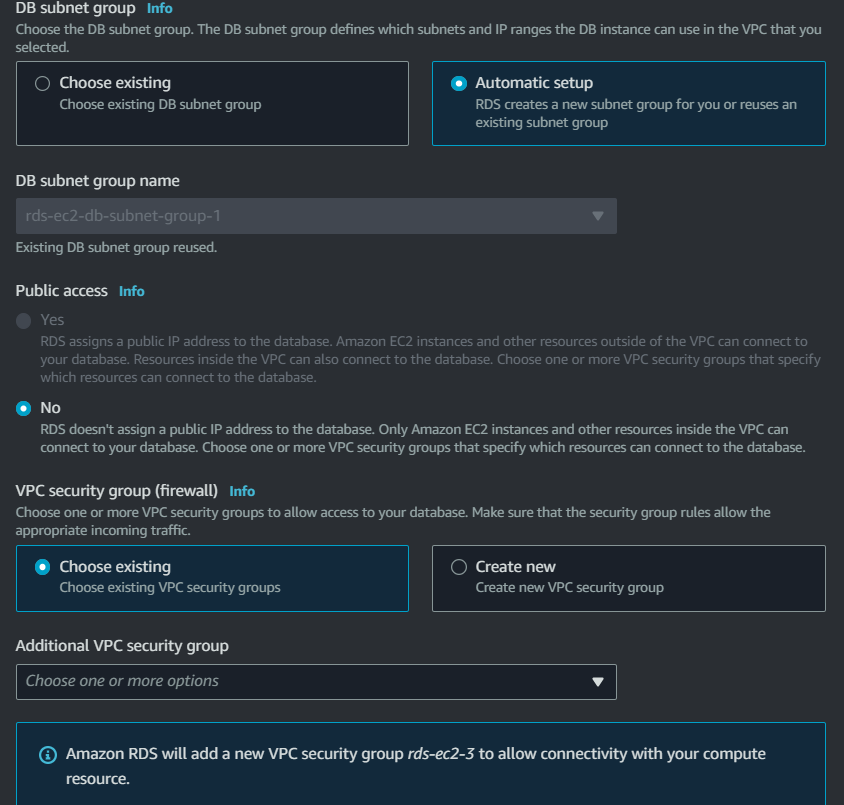
Now in the Connectivity section:
Compute resource: Connect to an EC2 compute resource
EC2 instance: Select the instance just created.
Virtual private cloud (VPC): Select the default VPC
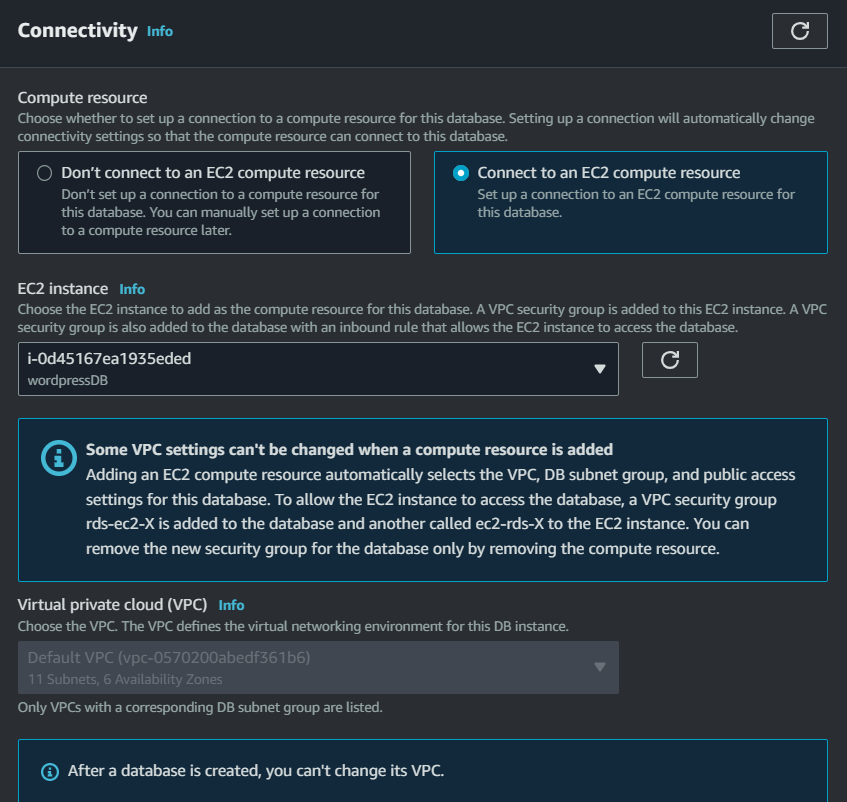
DB subnet group: Default
And let the other Options be the default.
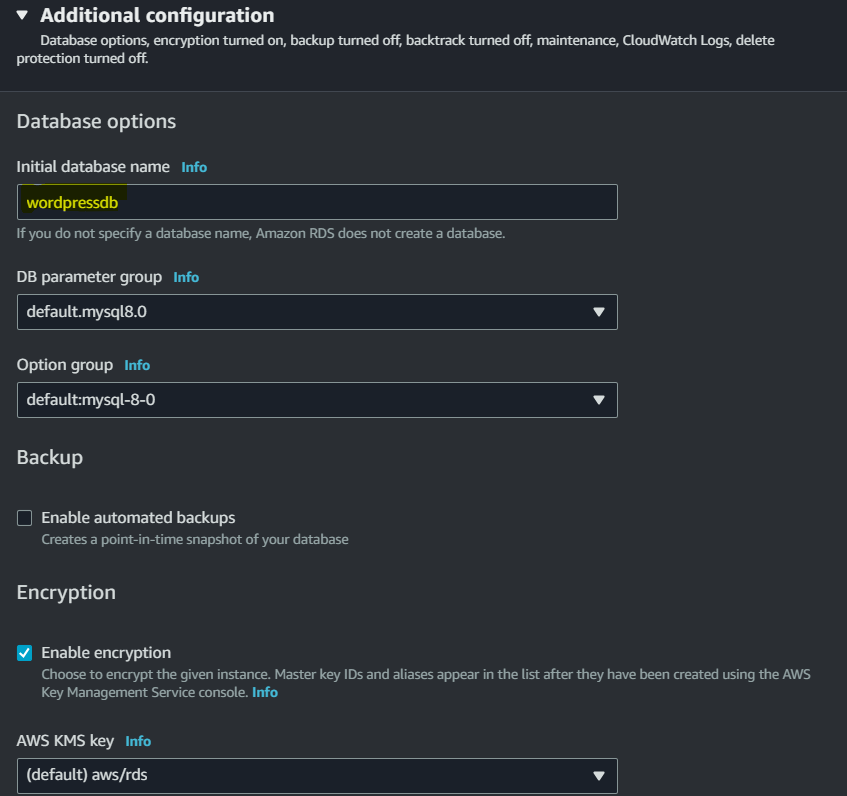
Scroll down to Additional Configuration after the Monitoring section:
Initial Database name: wordpressdb
And retain the default settings.
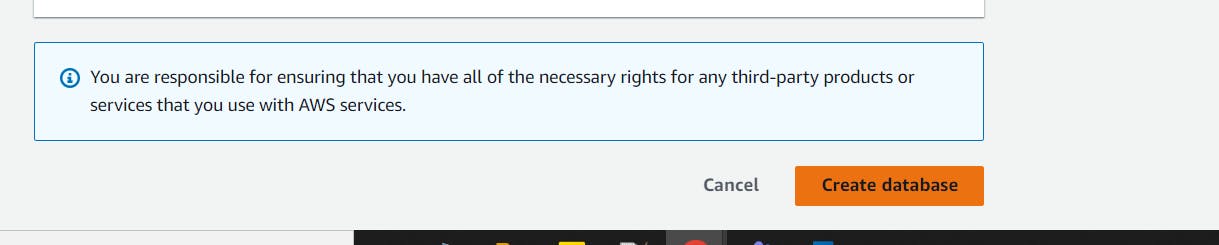
Click on Create Database:
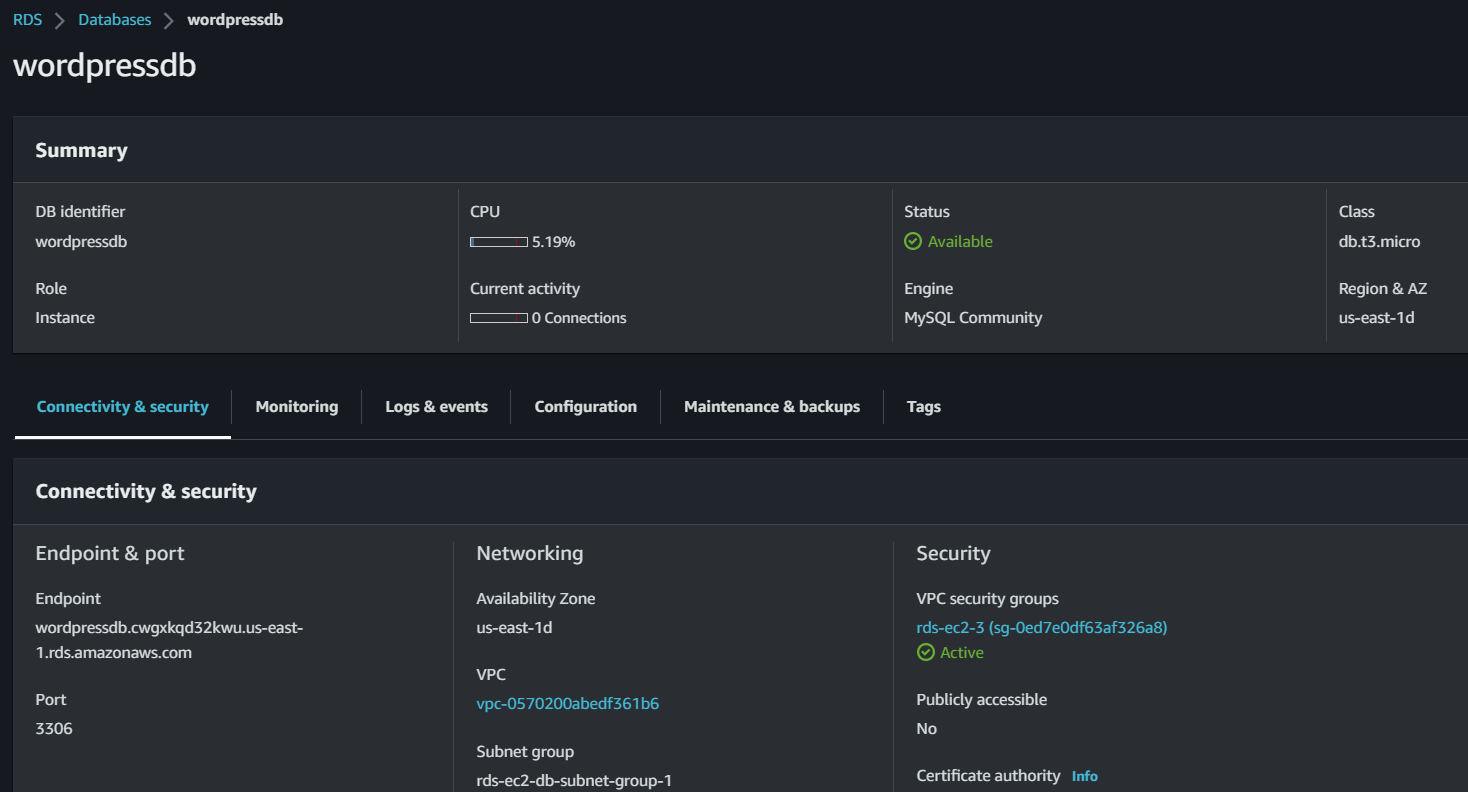
The creation of this RDS might take place few minutes. After a few minutes, you can observe that the RDS is created.
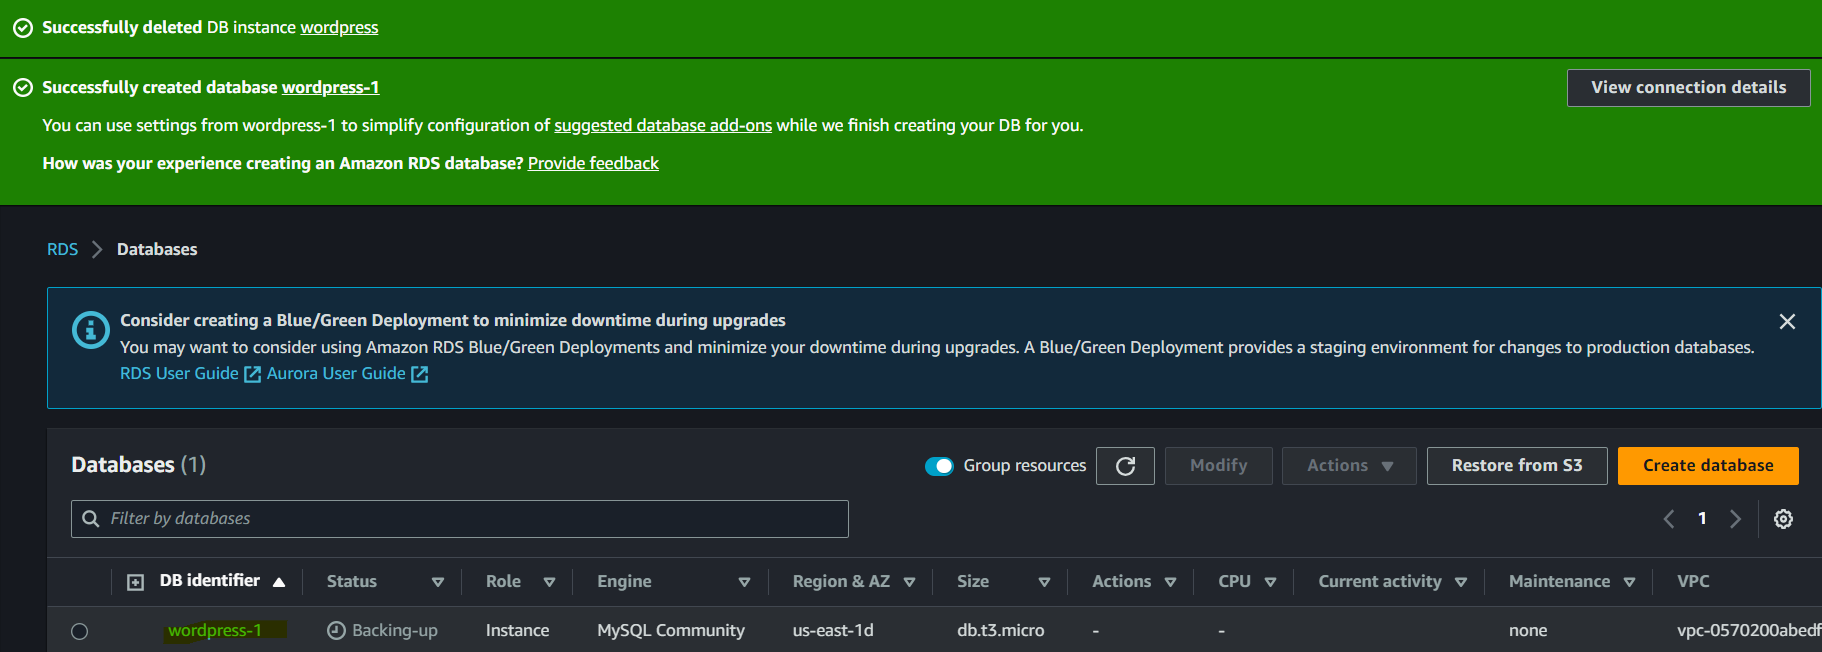
Summary of my database:


Configure WordPress/Install LAMP on Amazon Linux 2
You can refer official document.
Now connect to your EC2 instance using SSH.

The following procedures help you install an Apache web server with PHP and MariaDB on your Amazon Linux 2 instance (sometimes called a LAMP web server or LAMP stack). You can use this server to host a static website or deploy a dynamic PHP application that reads and writes information to a database.
Steps to Install LAMP on Amazon Linux 2:
Prepare the LAMP server
Test your LAMP server
Prepare the LAMP server
To ensure that all of your software packages are up to date, perform a quick software update on your instance. This process may take a few minutes, but it is important to make sure that you have the latest security updates and bug fixes.
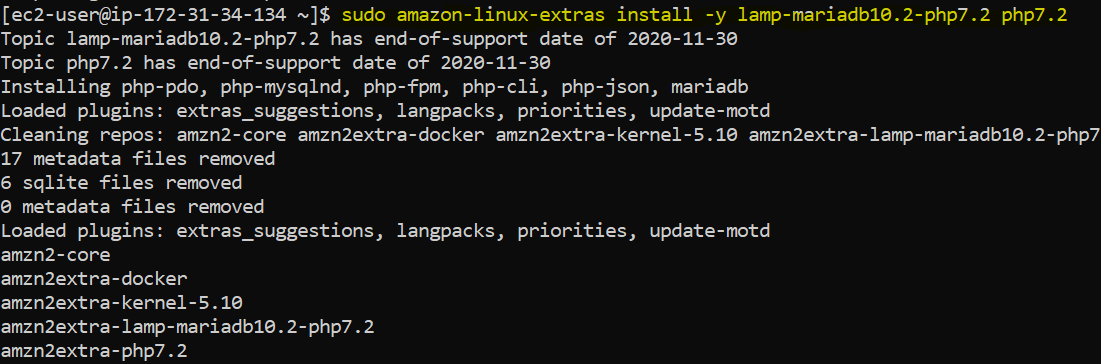
In the next step, Install the lamp-mariadb10.2-php7.2 and php7.2 Amazon Linux Extras repositories to get the latest versions of the LAMP MariaDB and PHP packages for Amazon Linux 2.
Also, you can view your version of Amazon Linux using the following command.

sudo yum update -y
sudo amazon-linux-extras install -y lamp-mariadb10.2-php7.2 php7.2
cat /etc/system-release
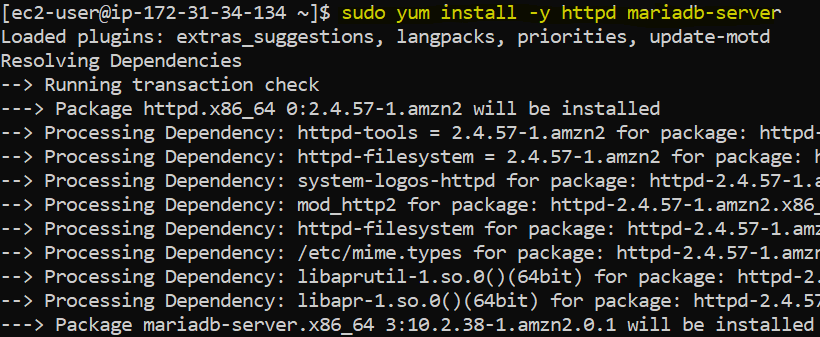
Now that your instance is current, you can install the Apache web server, MariaDB, and PHP software packages.
Start the Apache web server.
Use the systemctl command to configure the Apache web server to start at each system boot.
You can verify that httpd is on by running the following command.

Add a security rule to allow inbound HTTP (port 80) connections to your instance if you have not already done so.
Test your web server. In a web browser, type the public DNS address (or the public IP address) of your instance. You should see the Apache test page.
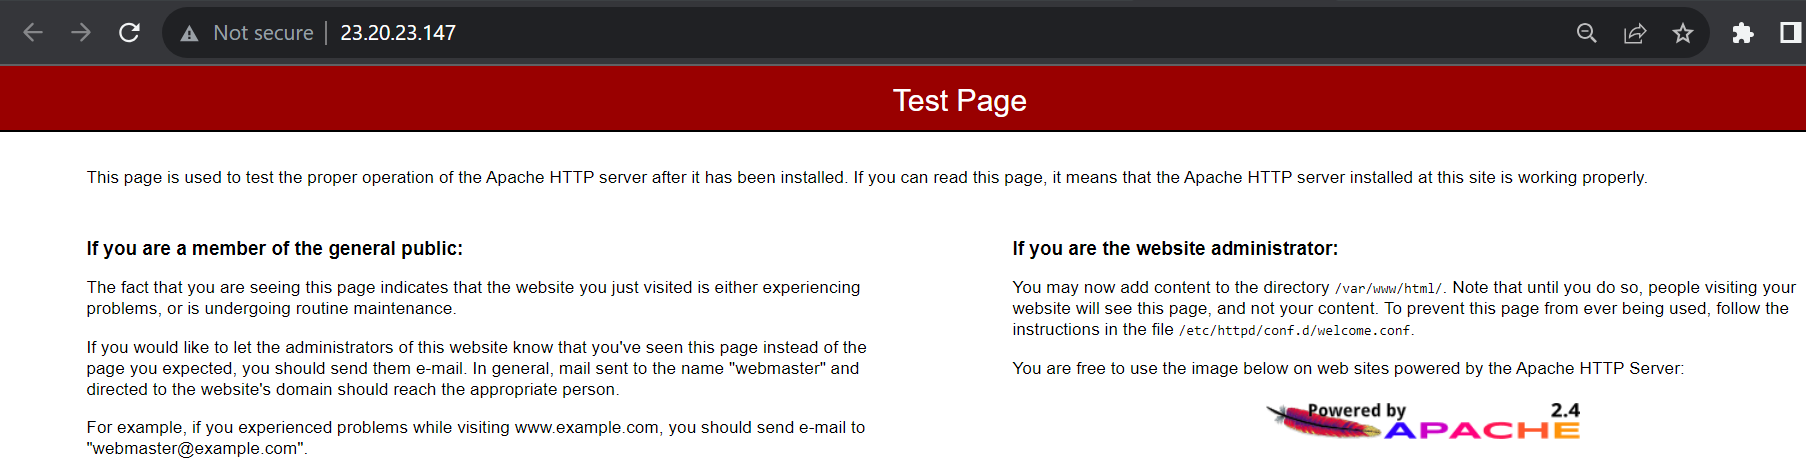
Apache httpd serves files that are kept in a directory called the Apache document root. The Amazon Linux Apache document root is /var/www/html, which by default is owned by root.
To allow the ec2-user account to manipulate files in this directory, you must modify the ownership and permissions of the directory. There are many ways to accomplish this task. In this project, you add ec2-user to the apache group, to give the apache group ownership of the /var/www directory and assign write permissions to the group.
To set file permissions:
Add your user (in this case, ec2-user) to the apache group.
Change the group ownership of /var/www and its contents to the apache group.
To add group write permissions and to set the group ID on future subdirectories, change the directory permissions of /var/www and its subdirectories.
To add group write permissions, recursively change the file permissions of /var/www and its subdirectories.

sudo usermod -a -G apache ec2-user
sudo chown -R ec2-user:apache /var/www
sudo chmod 2775 /var/www && find /var/www -type d -exec sudo chmod 2775 {} \;
find /var/www -type f -exec sudo chmod 0664 {} \;
Now, ec2-user can add, delete, and edit files in the Apache document root, enabling you to add content, such as a static website or a PHP application.
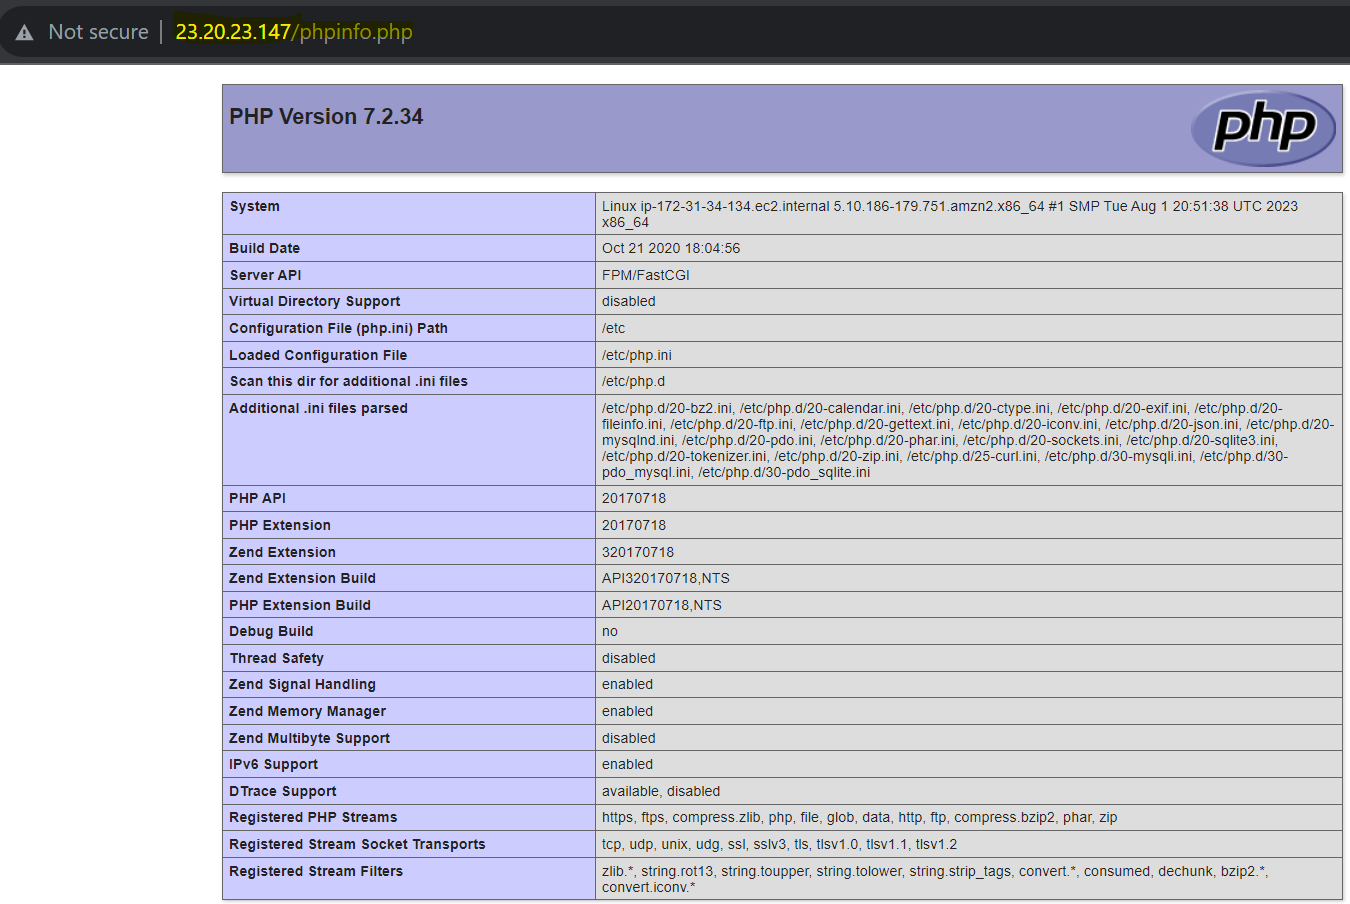
If your server is installed and running, and your file permissions are set correctly, your ec2-user account should be able to create a PHP file in the /var/www/html directory that is available from the internet.

We can check the modified permissions by just hitting the instance IP:
echo "<?php phpinfo(); ?>" > /var/www/html/phpinfo.php
http://my.public.dns.amazonaws.com/phpinfo.php
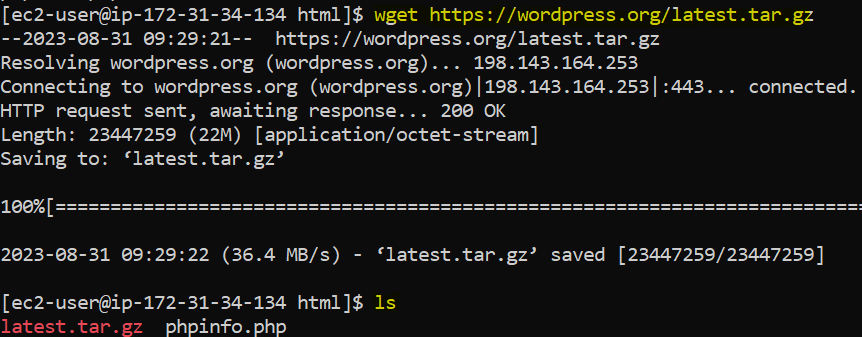
Now let us Download and Configure WordPress.
So, to download change the directory to /var/www/html/
cd /var/www/html/
cd wordpress
cp wp-config-sample.php wp-config.php

To download and uncompress the software WordPress:
wget https://wordpress.org/latest.tar.gz
tar -xvf latest.tar.gz
Once the unzipping is done we will be able to see the WordPress directory.

Run the following command in your terminal to connect to your MySQL database. Replace “<user>” and “<password>” with the master username and password you configured when creating your Amazon RDS database. -h is the host which is the RDS database endpoint.
You can find the database endpoint by just clicking on your database instance.
mysql -h <rds-database-endpoint> -u <user> -p
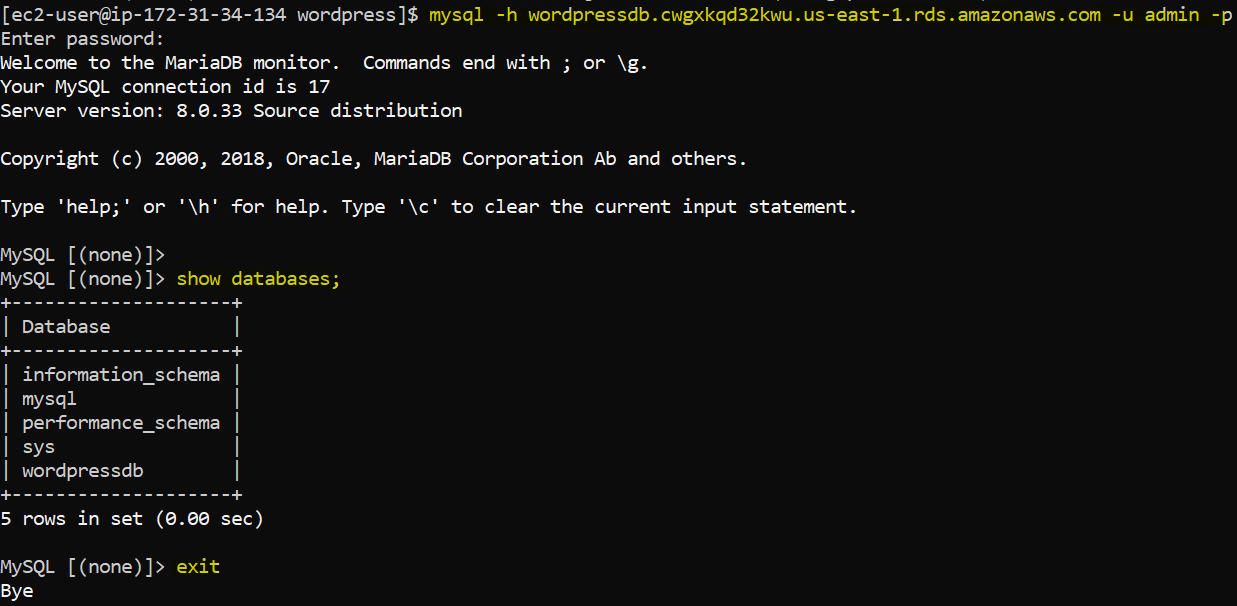
Once you can access your database from your instance as above my db wordpress DB, its time to log in to your WordPress website.
Enter your IP adress with /wordpress/

Now, click on let's go!.
You will be redirected to the following page where you need to enter details of your database. In place of database host, you need to type in End Point of your database and click on submit.
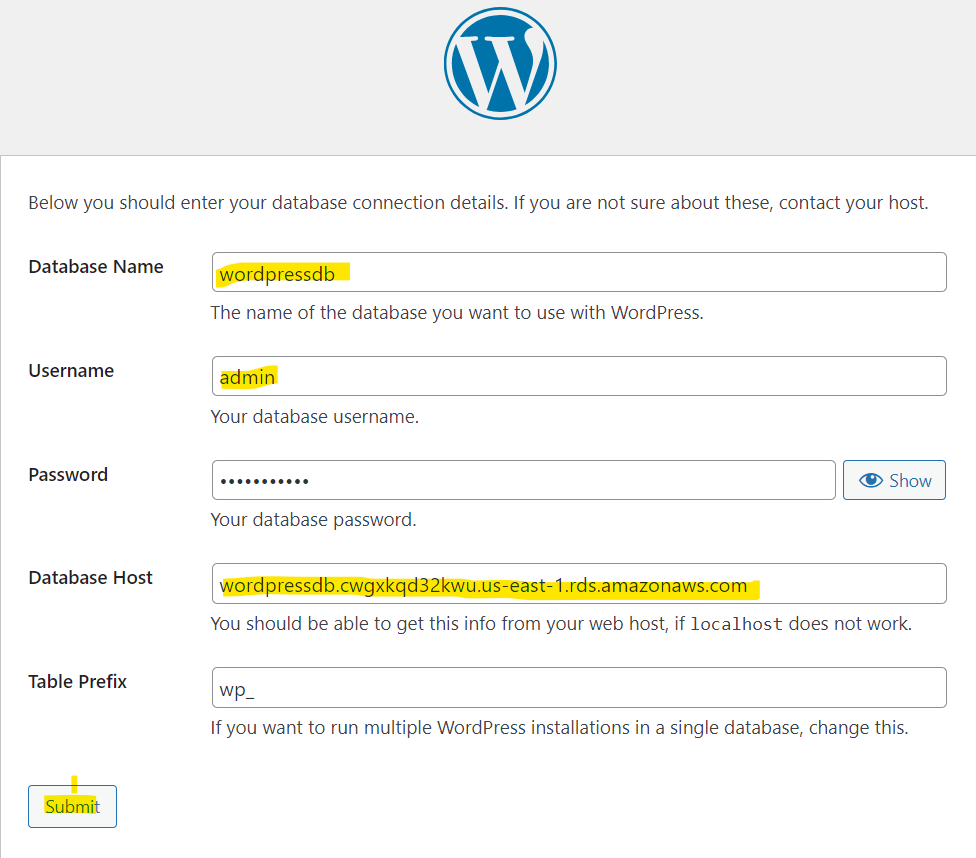
Once you click on submit, following page will pop-up whwere you need to copy the configurations and put in a file name wp-congig.php inside your wordpress directory.

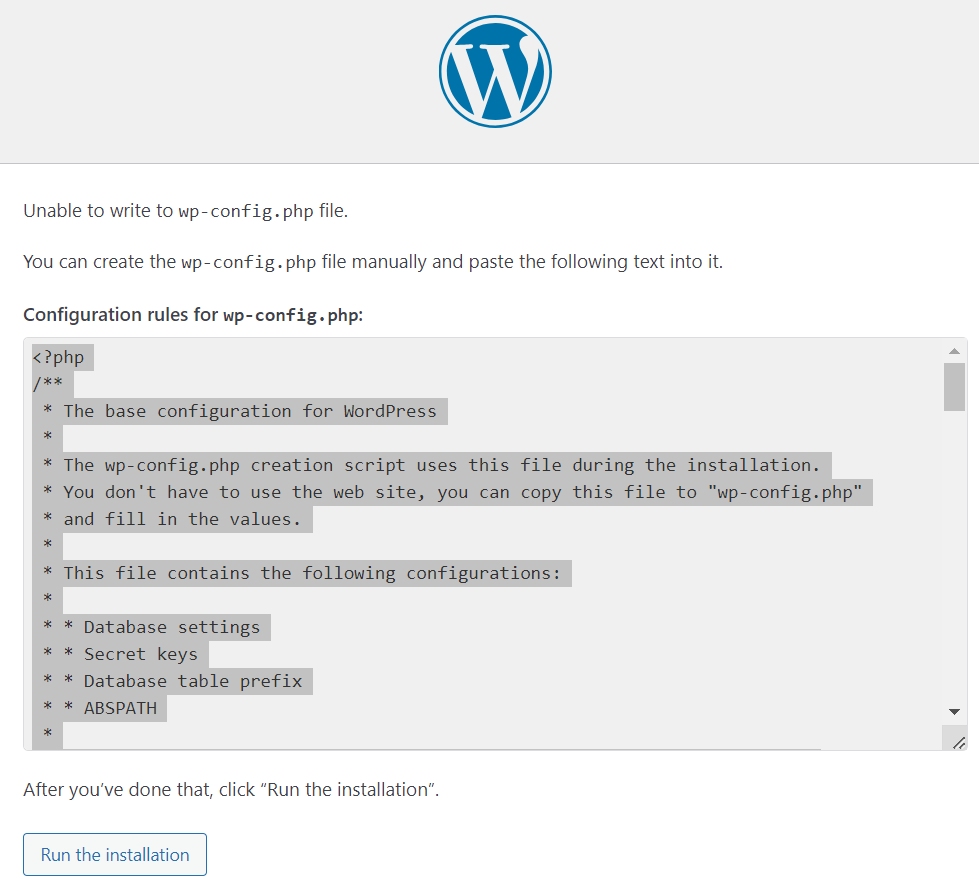
Also, you you find any difficulty in copying and running the installations, you can edit wp-config.php file on instance.
cp wp-config-sample.php wp-config.php

And now just edit wp-config.php
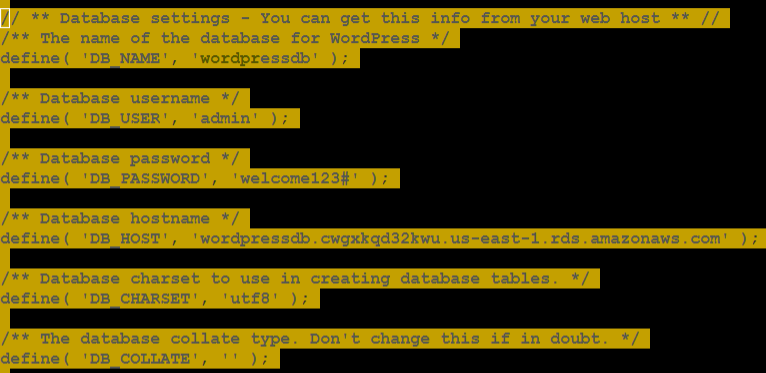
DB_NAME: your RDS database name
DB_USER: The name of the user you created in the database in the previous steps
DB_PASSWORD: The password for the user you created in the previous steps
DB_HOST: The hostname of the database means your database endpoint
The second configuration section you need to configure is the Authentication Unique Keys and Salts.
You can replace the entire content in that section with the below content:
define('AUTH_KEY',         'H&|6E`hwKfr{:%)c/VnnD`_juO2G-x5%ja|%aG^o6reM^5-82YAk$?-ScRV(l~*U');
define('SECURE_AUTH_KEY',  '+)PXuaoX4 ,!@P)w+b$th=dWerlvoo=|<hBM2-QK@+G<hE<!04/!H;8>Cq5;GPDl');
define('LOGGED_IN_KEY',    'PCXFt:mB+i+jnQGP@m~fkgLaLrR%Q@J*>$M} tUj1U|k2;my])l1!M{E/sQ)(CCY');
define('NONCE_KEY',        'h?t[<nk|:T?AWMJAQGxa`{%pEZ|rc}08zO9pOZl~V{3>XB~<q?ac$+_!%|+Cc<?)');
define('AUTH_SALT',        't, E$7#wcey47lR=`_Yyi]u-E?.j%.MC_Hx0{iV+T[iBj[w)q!JD4Y?+:$_!a+|&');
define('SECURE_AUTH_SALT', 'uMDw+%k5dEY#|`&w!SoH@::~<@jCyG>yP=Rcv^`NN1,+)K:Buv+J-~Y}olc}`-tT');
define('LOGGED_IN_SALT',   't+W]CZ684~.aOve+-,g2x&TI+q,QJ&5E}<q9x;sLx$+[t<+t9VC-ZMD7~8`%+@--');
define('NONCE_SALT',       'DBr&#AO/#|tGwm|wv0L@X^|>7i #DiFc^gnq;uO +8v5az3lh8*/ u6yQ!1
Once you click on Run the installation tab, the following page will pop up where you have to fill in your personal website details.
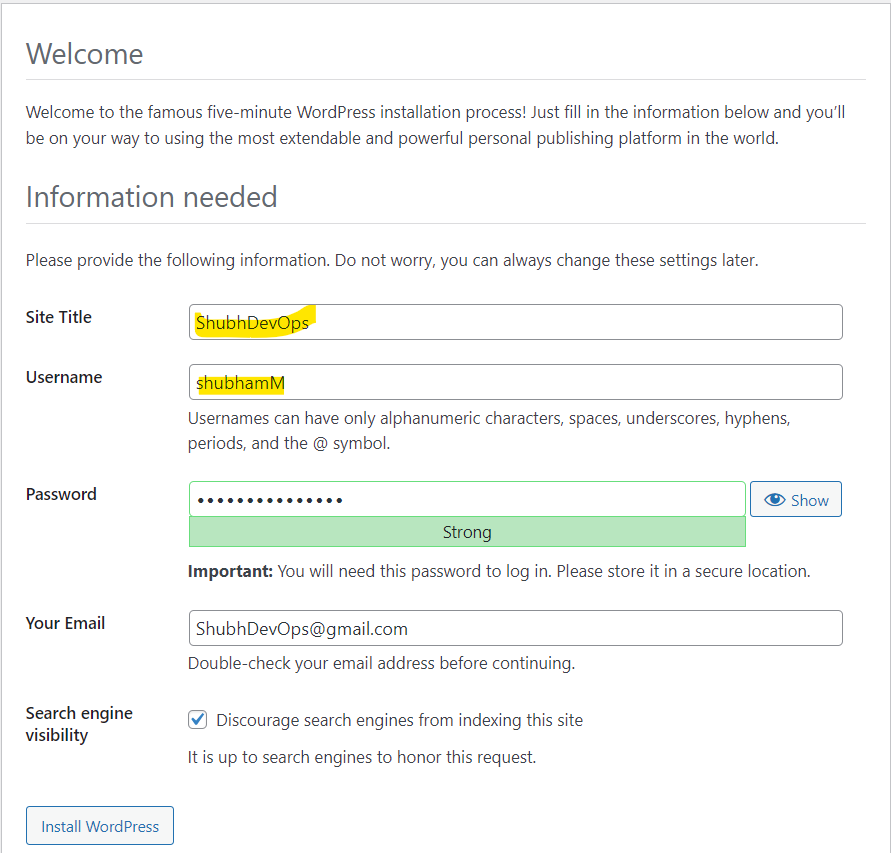
Once you click on install WordPress->
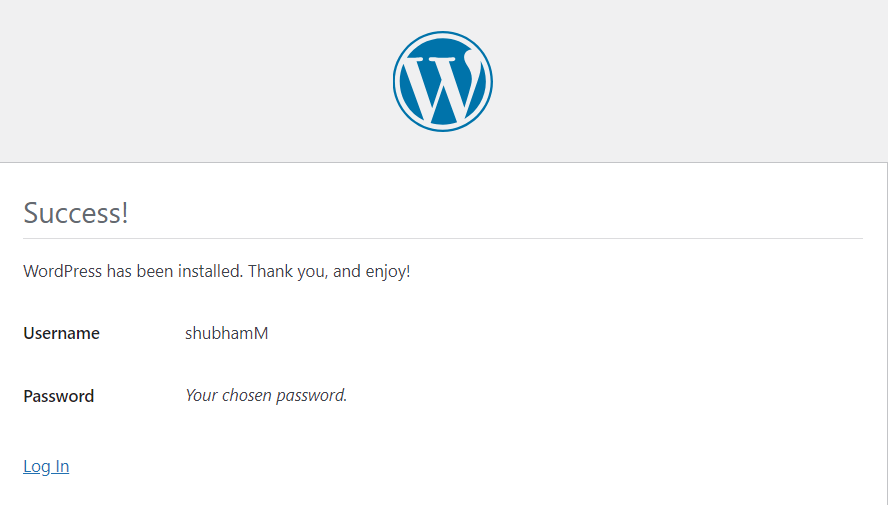
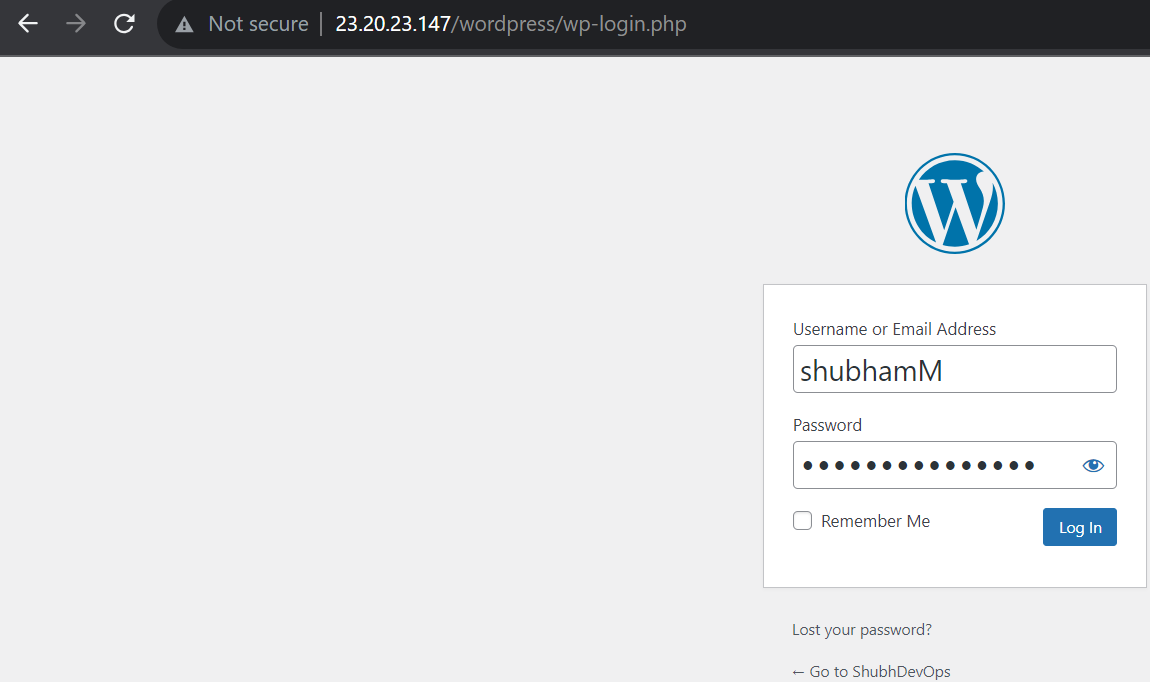
You need to log in with the credentials you just created in previous windows.
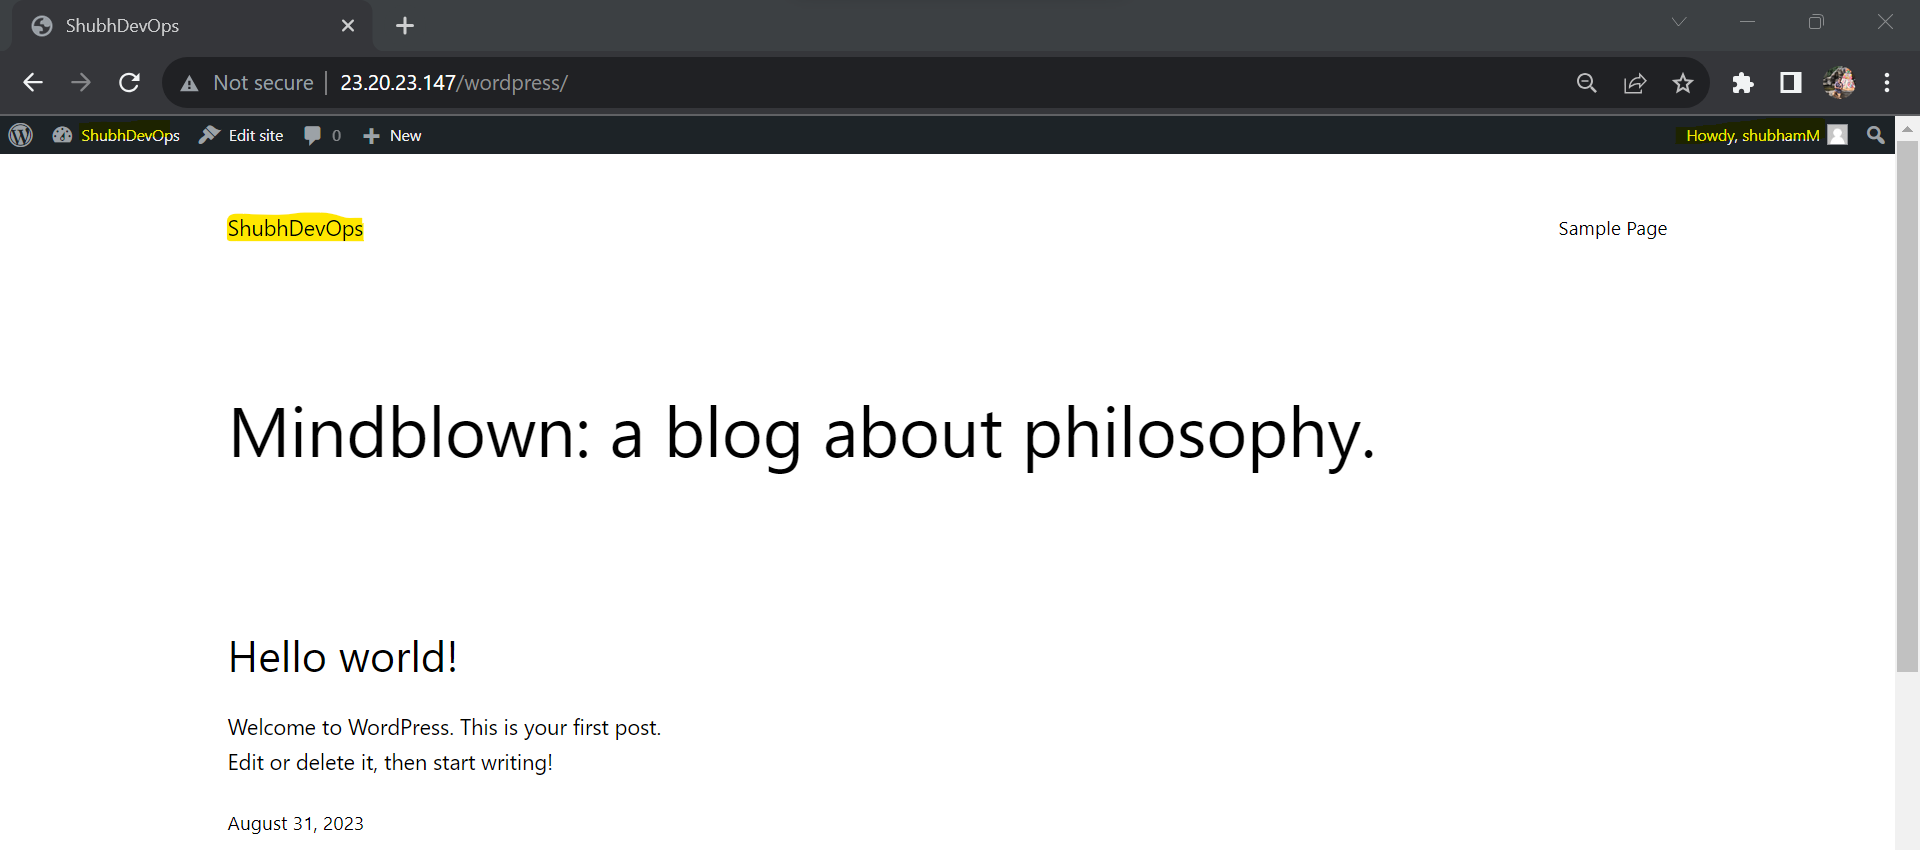
And finally, welcome to your website hosted by WordPress.
In this blog, I have discussed a project to deploy a WordPress website on AWS. The Cherry on the cake, you can add this to your resume! If you have any questions or want to share your experiences, please comment below. Don't forget to read my blogs and connect with me on LinkedIn and let's have a conversation.
In the next blog post, we will explore more advanced topics in the realm of DevOps.So, stay tuned and let me know if there is any correction.
Please feel free to connect.
Git Hub Repo: Task Day44
Thank you for reading!