Day 24,25: Single-stage-single-agent Jenkins project.


In this article, we will be deploying a node.js application on an EC2 instance and we will create a CICD pipeline using Jenkins.
Tools we will be using in the project:
AWS-EC2
GitHub
Docker
Jenkins
What is CICD pipeline?
CI/CD (Continuous Integration/Continuous Deployment) pipeline is a set of automated processes that helps to integrate code changes, build, test, and deploy applications continuously. The primary goal of a CI/CD pipeline is to enable fast and reliable delivery of changes to production.
A typical CI/CD pipeline consists of several stages, including:
Code Integration: In this stage, developers integrate their code changes into a shared repository.
Build: In this stage, the CI system builds the code and runs any necessary tests.
Test: In this stage, the code is tested using various testing techniques, including unit tests, integration tests, and end-to-end tests.
Deployment: In this stage, the code is deployed to production or a staging environment.
Monitoring: In this stage, the system monitors the deployed application for performance and stability.
Step 1: Install Jenkins on the server
I have written a blog on a step-by-step process to download and install Jenkins. This instance will be your master node as Jenkins is installed on this instance. We will create one more instance which will be an agent means in this instance we will deploy the application through the Jenkins instance (we will call it master.)

You can follow this URL to install jenkins:nd access it through browser: A Step-by-Step Guide to Setting up Jenkins on an AWS EC2 Ubuntu (hashnode.dev)

Step 2: Setting a bridge between Jenkins Master and agent:
Go to your EC2 instance of master and type the command as follows.
#ssh-keygen

It will create two keys, one will be public and one private as we can see shubh-key and shubh-key.pub is created.

Now, to create a bridge between Jenkins's master server and Jenkins agent. Following commands on the agent server through which we will get a folder named authorized_keys.

Now as we have given vim command as mentioned above, switch to another server which we named Jenkins master and give command # .ssh cat

Now, copy the above public key from the master and paste it into the agent authorized_key file.
For understanding, I have created a basic structure like a public key from the master we need to paste in agents authorized_key.

Apart from this, we need to do the following steps on the agent instance
Run the below command to Install Docker:
sudo apt update
sudo apt install docker.io
Grant Jenkins user and Ubuntu user permission to docker deamon:
sudo su -
usermod -aG docker jenkins
usermod -aG docker ubuntu
systemctl restart docker
Step 2: Set up an agent:
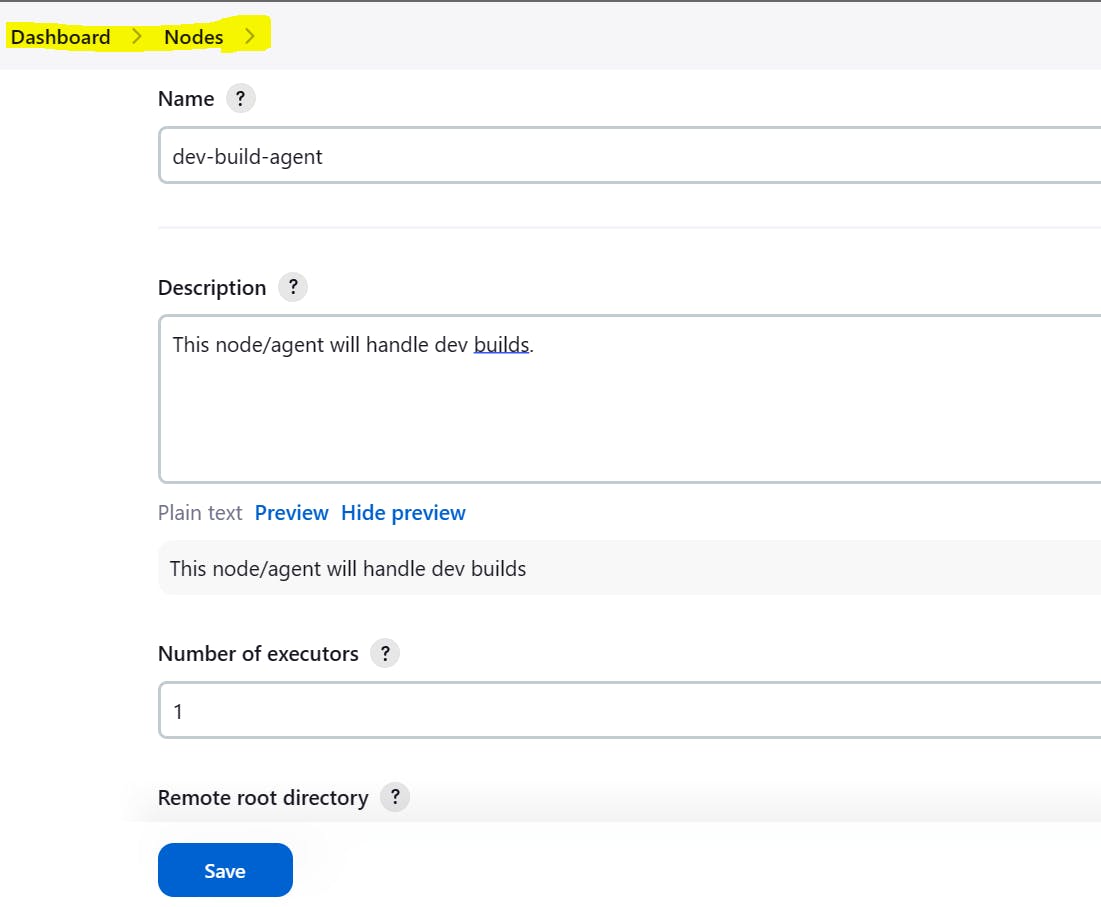
Now, come back to your Jenkins dashboard, here you will observe the Set up a distributed build section under which click on Set up an agent.
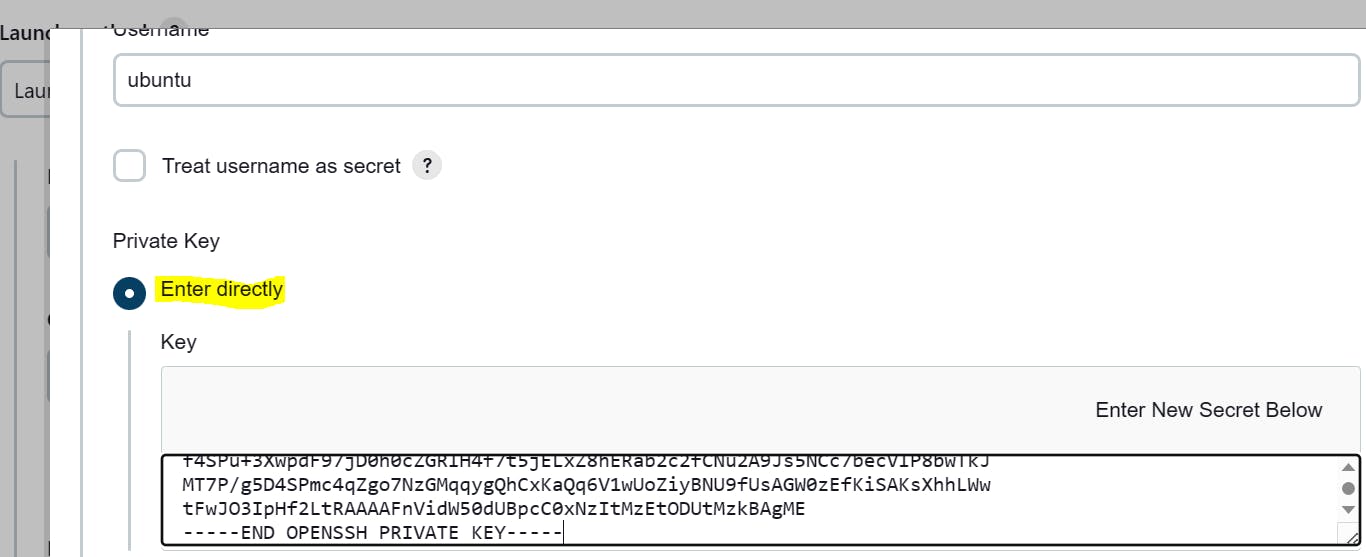
In this section, you can set up and manage Jenkins agents/nodes. Agents can be configured to connect to the Jenkins master server and execute build tasks remotely.


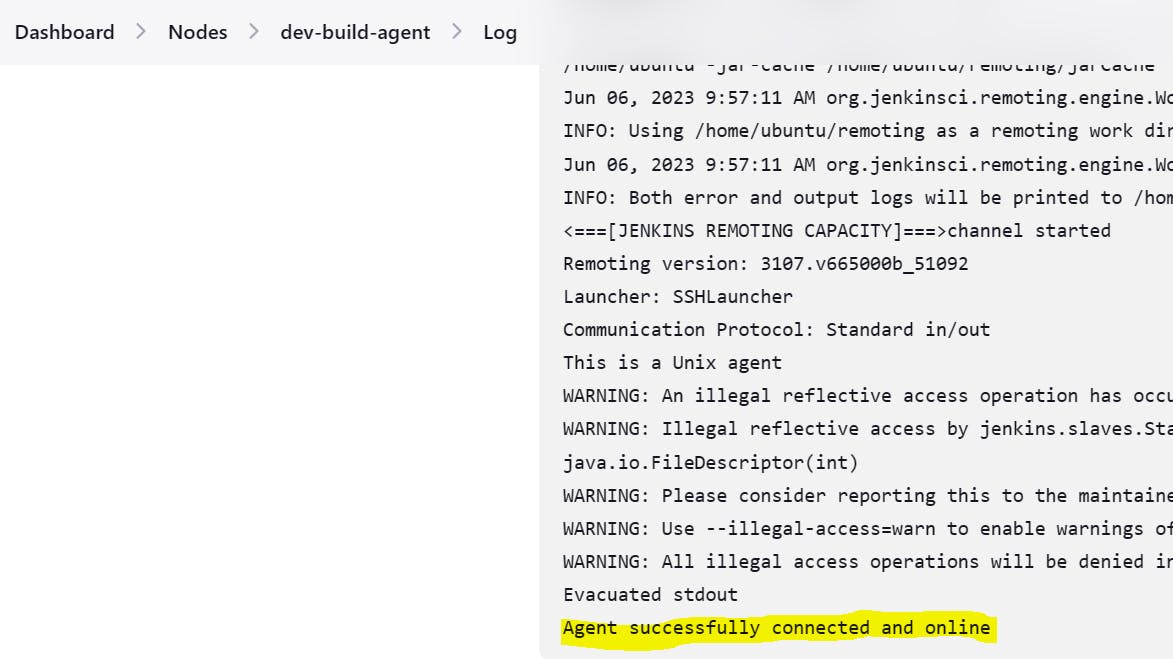
When you save and launch the agent, its console will look like this..

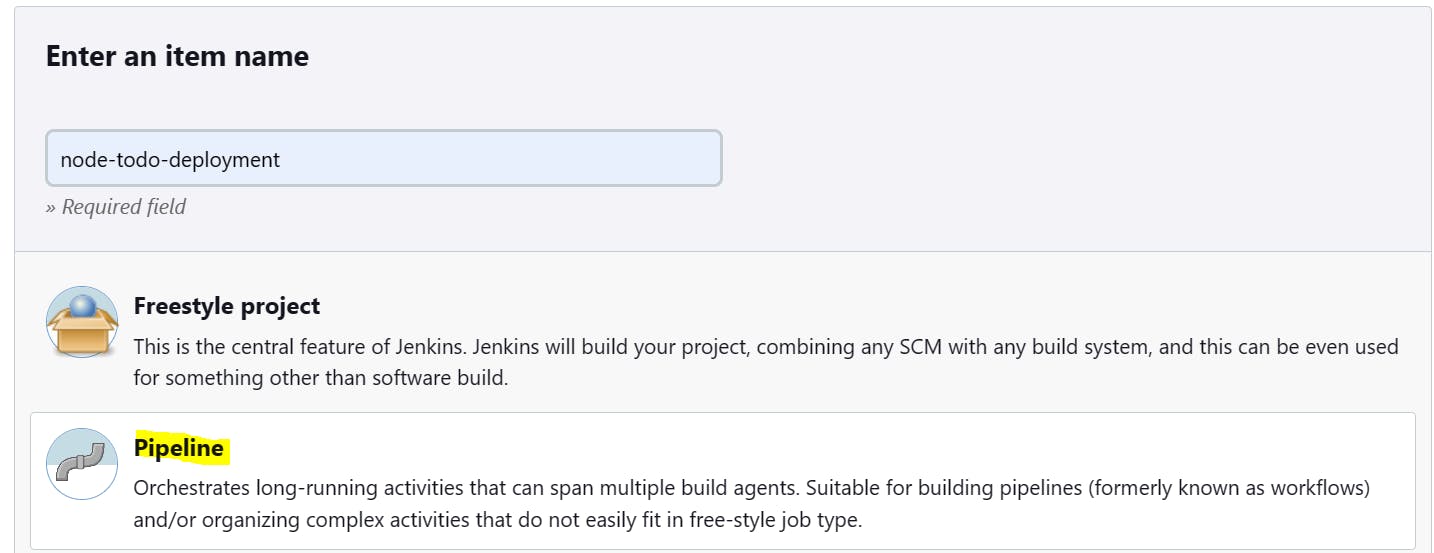
Step 3: Create a new item- launch application:
Now, we will create a new item called node-todo-deployment as pipeline.
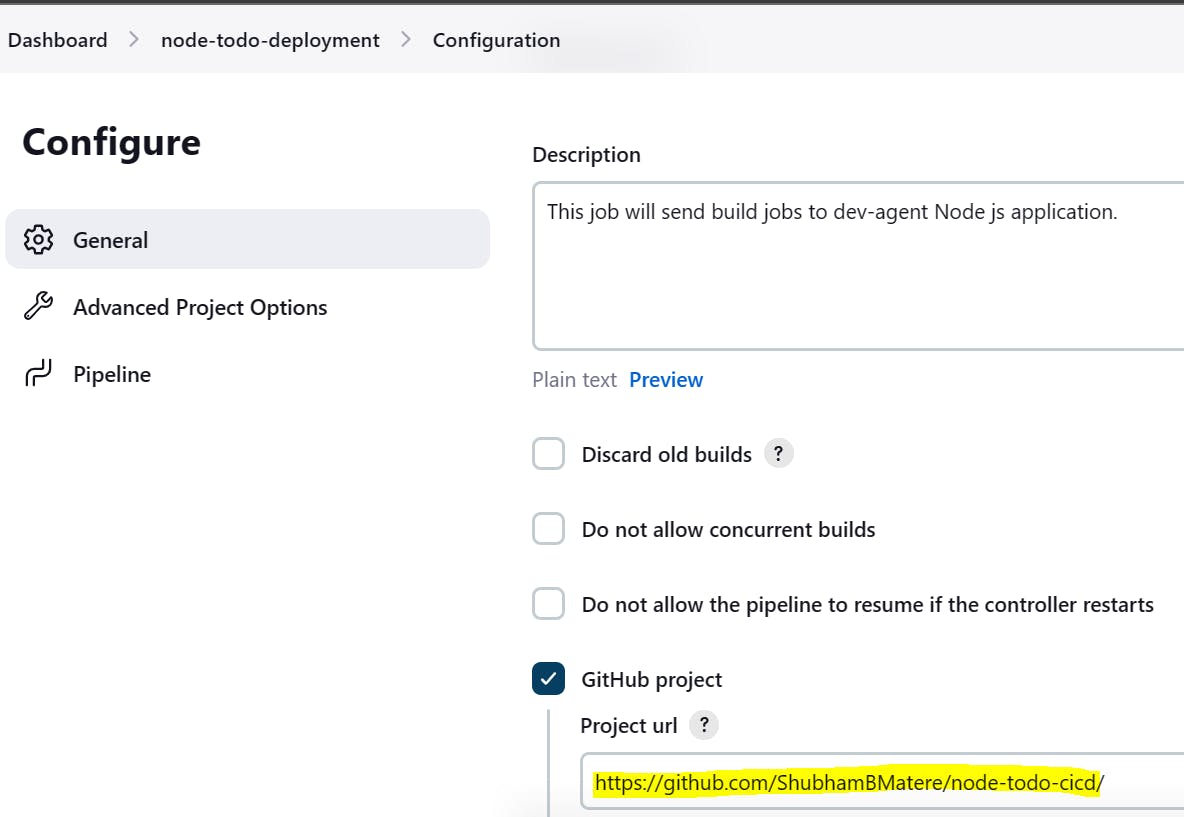
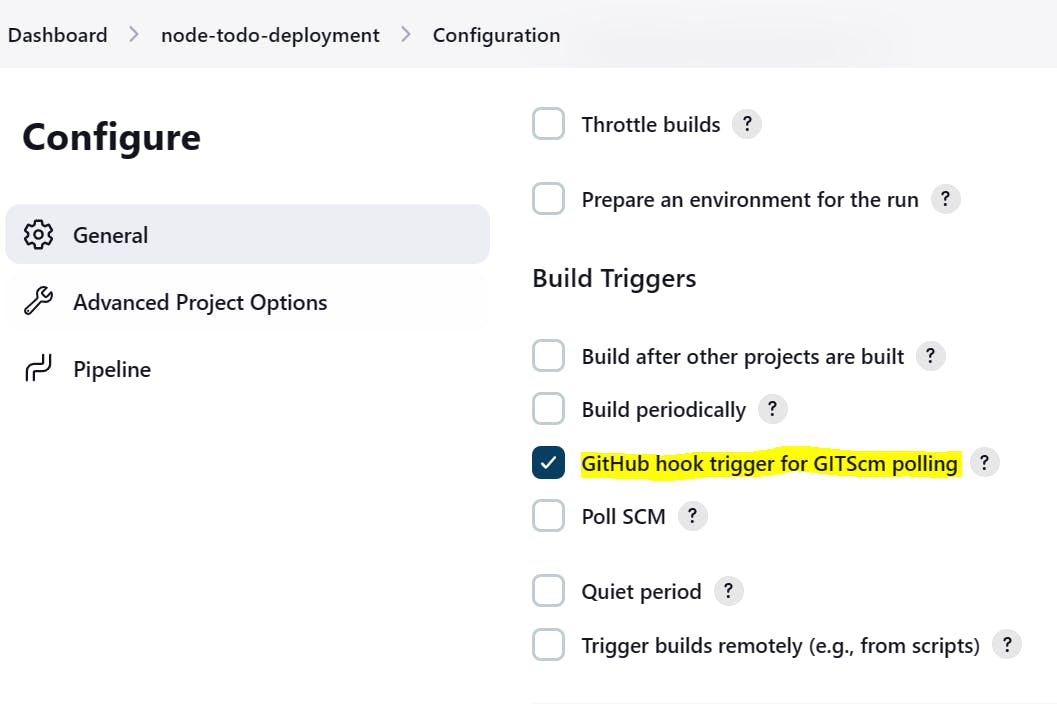
In the build triggers section, we will be using GitHub hook to build the application.
Now, go to Pipeline section and select Pipeline script from dropdown option and paste the below script and save the configuration.
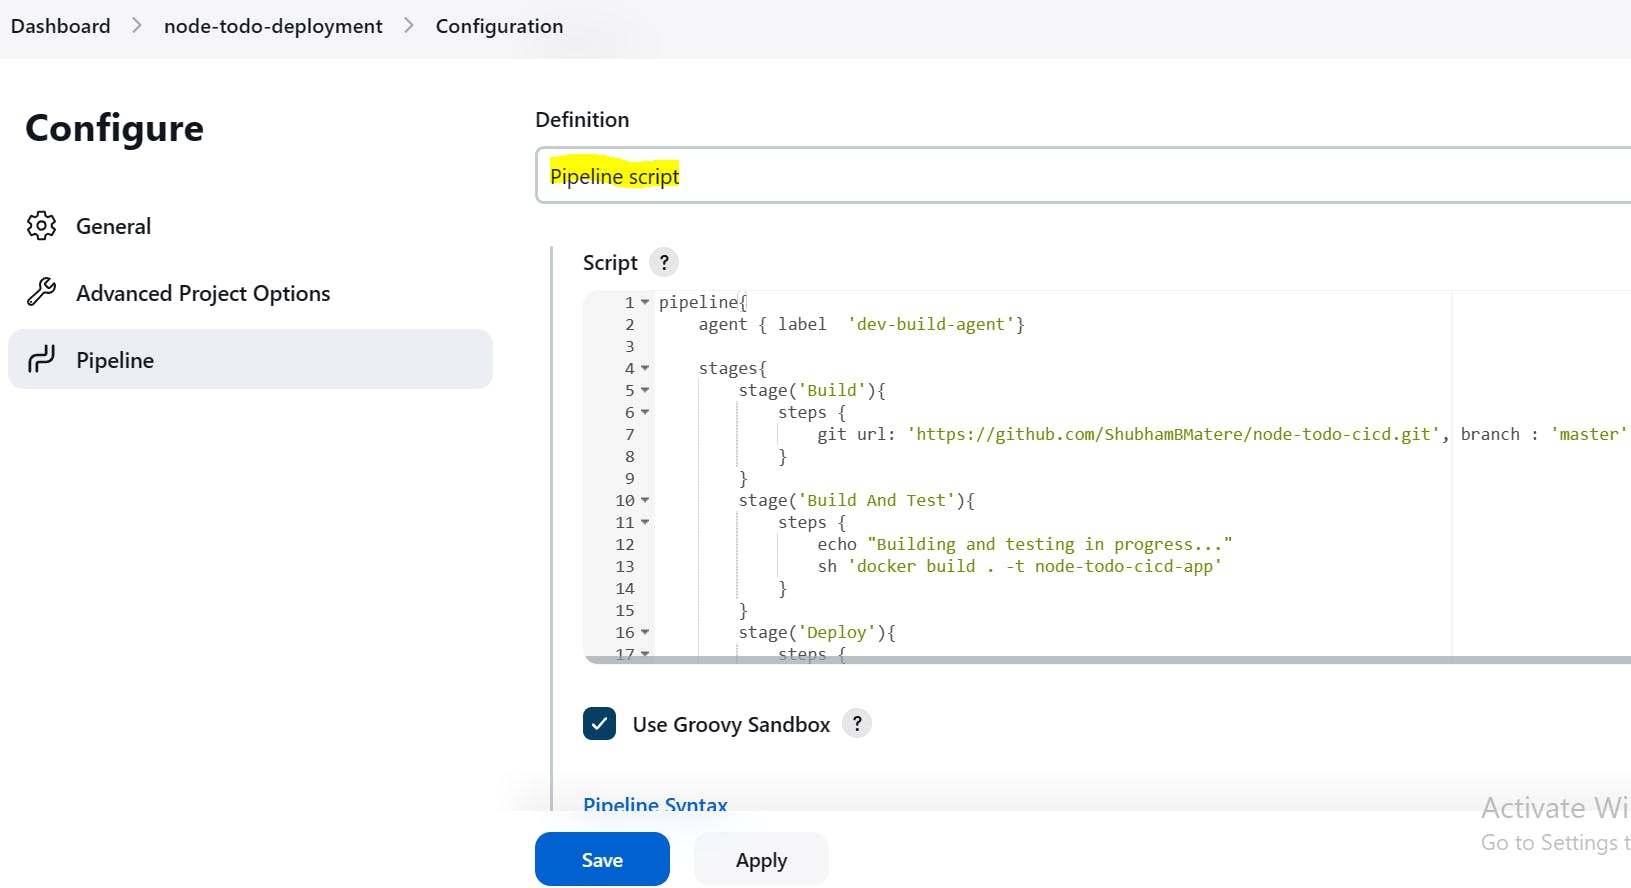
pipeline{
    agent { label  'dev-build-agent'}
    stages{
        stage('Build'){
            steps {
                git url: 'https://github.com/ShubhamBMatere/node-todo-cicd.git', branch : 'master'
            }
        }
        stage('Build And Test'){
            steps {
                echo "Building and testing in progress..."
                sh 'docker build . -t node-todo-cicd-app'
            }
        }
        stage('Deploy'){
            steps {
               echo "Deployment in progress..."
               sh 'docker-compose down && docker-compose up -d'
                }
             }
         }
    }
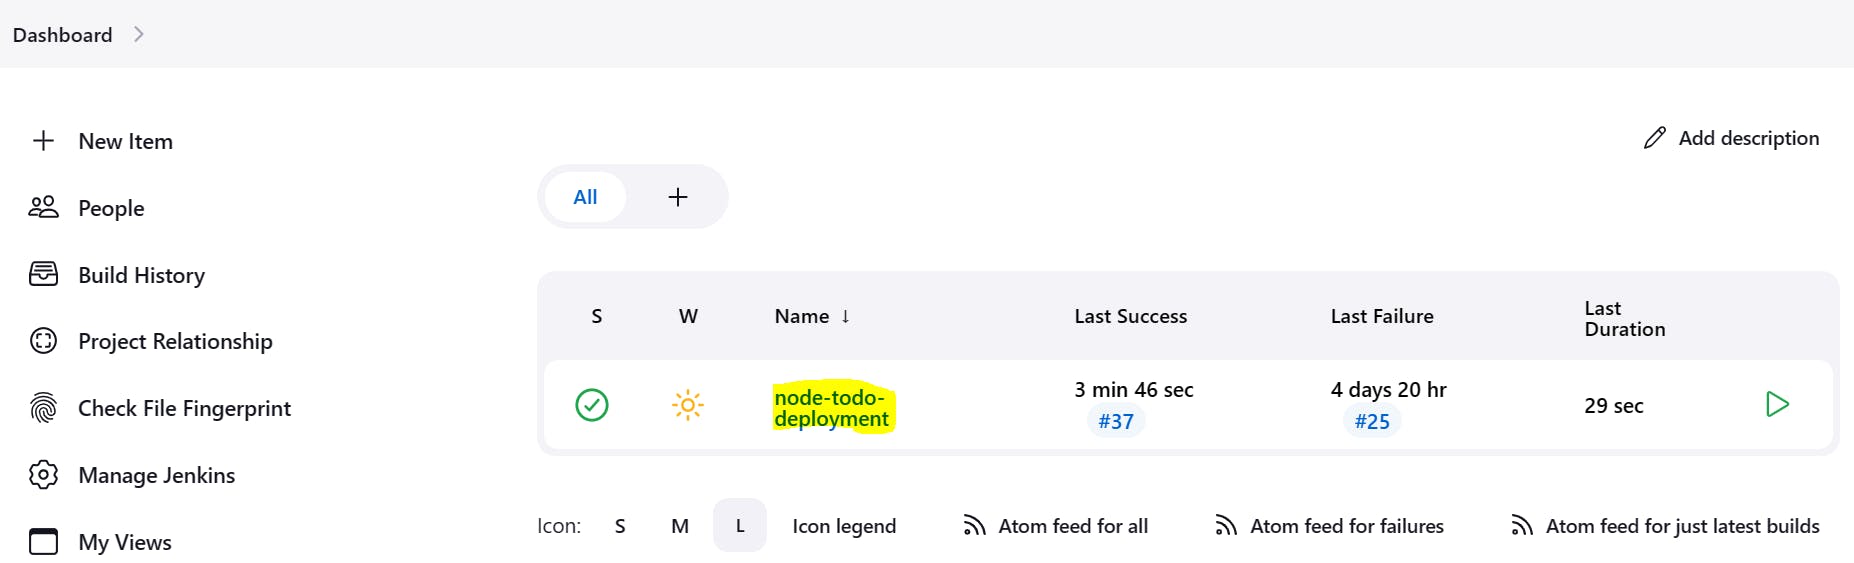
Now, just save and go to the dashboard and build the application.

Voila!!, it got successful. Now, on accessing the application from IP address of the agent instance.

If you want pipeline to get triggered automatically on every commit on your branch, just add a webhook as follows
On GitHub portal go to your repository and then.... repository-->settings---> webhook--> add webhook
In Payload URL enter your Jenkins URL with /github-webhook/ extension

That's it, now on every commit your pipeline will be triggered automatically.
In this way, we have completed the tasks of days 24 and 25. It is a great learning experience with these DevOps tools and I am sure I am going to deep dive into it, so stay tuned to blogs, I am sure more awesome posts on the way.
In the next blog we will learn about multi-stage-multi-agent pipeline. So, stay tuned and do follow me here and on LinkedIn.
below, please feel free to connect.
https://www.linkedin.com/in/shubhambmatere/
Thank you for reading....................................
Below is the project repository used for this blog