Automated Jenkins-Docker environment on AWS EC2 using Launch Templates and Auto-Scaling Groups.


Hello Learners,
Welcome to day 40 of the #90DaysOfDevOps challenge initiated by Shubham Londhe . In the previous blog, we learned about User Data and IAM. Let's learn how to automate EC2 using Launch Templates and Auto Scaling Groups.
Instances can be launched using the launch instance wizard or using a launch template.
Launch Templates in EC2
A launch template is a feature provided by Amazon EC2 that allows you to create reusable configurations for launching instances.
You can create a launch template that contains the configuration information to launch an instance. You can use launch templates to store launch parameters so that you do not have to specify them every time you launch an instance.
Launch templates support versioning, which means you can create multiple versions of a template to track changes over time. If you do not specify a version, the default version is used. You can set any version of the launch template as the default version—by default, it's the first version of the launch template.
Instance Sizes
Instance Type | Instance Sizes | Description |
General Purpose | nano, micro, small, medium, large, xlarge, 2xlarge | Balanced computing, memory, and network resources |
Compute Optimized | large, xlarge, 2xlarge, 4xlarge, 8xlarge, 16xlarge, 32xlarge | High-performance compute instances optimized for CPU-intensive workloads |
Memory Optimized | large, xlarge, 2xlarge, 4xlarge, 8xlarge, 12xlarge, 16xlarge | Memory-optimized instances for applications requiring high RAM capacity |
Storage Optimized | large, xlarge, 2xlarge, 4xlarge, 8xlarge, 16xlarge, 32xlarge | High-performance instances with local NVMe SSD storage optimized for storage-intensive workloads |
GPU Instances | p2.xlarge, p2.8xlarge, p2.16xlarge, p3.2xlarge, p3.8xlarge, p3.16xlarge, p4d.24xlarge, g3s.xlarge, g3.4xlarge, g3.8xlarge, g3.16xlarge | Instances with powerful GPUs for parallel processing and high-performance computing |
FPGA Instances | f1.2xlarge, f1.4xlarge, f1.16xlarge | Instances with FPGAs for hardware acceleration of specific tasks |
AMI
AMI stands for Amazon Machine Image. It is a pre-configured template that contains the necessary information to launch an instance in Amazon EC2. An AMI serves as the building block for creating virtual servers in the cloud.
AMIs are available as Amazon-provided AMIs, AWS Marketplace AMIs, and Custom AMIs.
An AMI includes Root Volume, Instance Configuration, Permissions, Block Device Mappings, and Launch Permissions.
📢Task 1:
Create a launch template with Amazon Linux 2 AMI and t2.micro instance type with Jenkins and Docker setup.
🎯Open the Amazon EC2 console. In the left navigation pane, choose "Launch Templates".
🎯Choose "Create launch template".

🎯In the "Create a launch template" page, enter a name for the launch template.

🎯Application and OS Images (Amazon Machine Image): Ubuntu

🎯For "Instance type", choose "t2.micro".

🎯In a network setting, select the existing security group and make sure in that security group, all traffic is kept open so that we can access the ports.


🎯In the "Advanced Details" section, paste the user data script for installing Jenkins and Docker in the "User data" field.
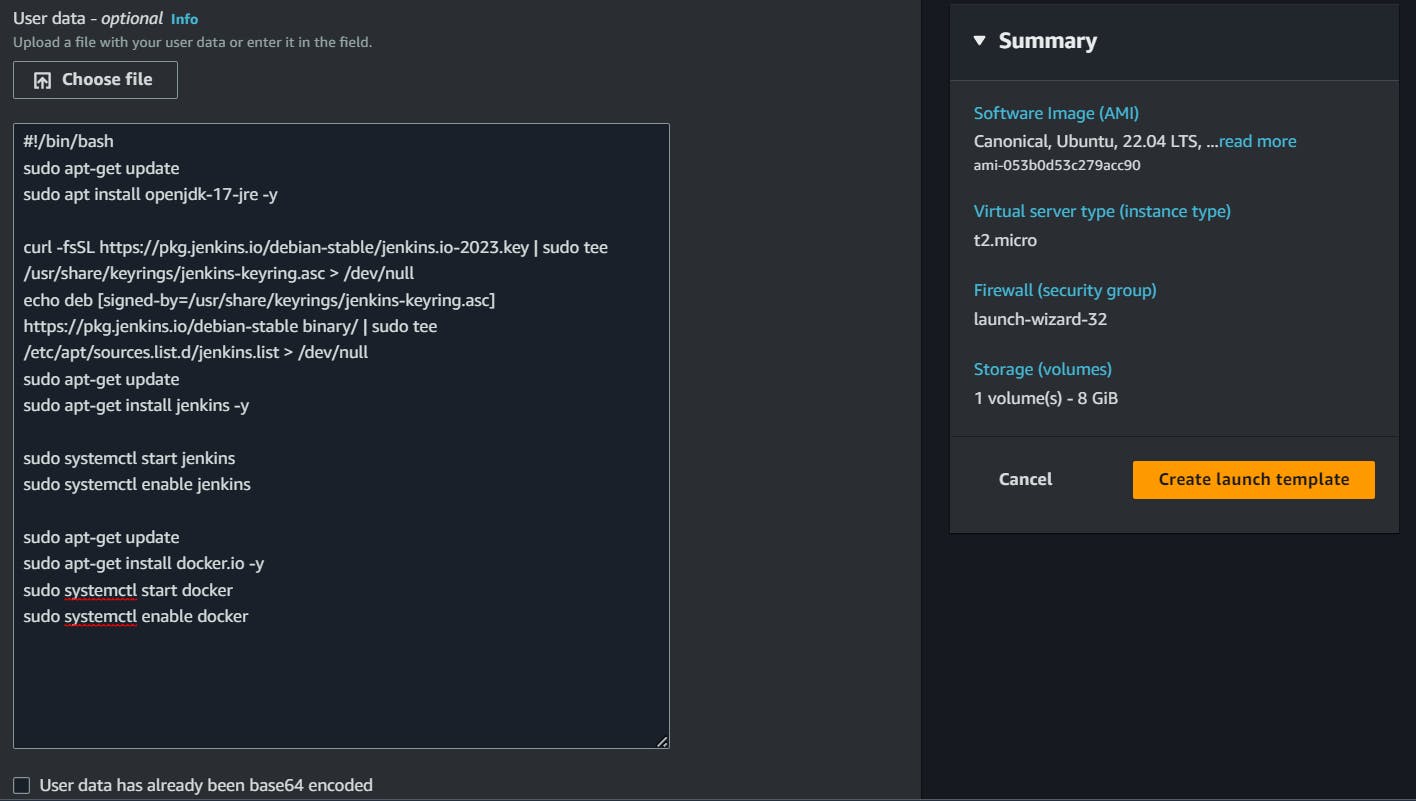
#!/bin/bash
sudo apt-get update
sudo apt install openjdk-17-jre -y

curl -fsSL https://pkg.jenkins.io/debian-stable/jenkins.io-2023.key | sudo tee /usr/share/keyrings/jenkins-keyring.asc > /dev/null
echo deb [signed-by=/usr/share/keyrings/jenkins-keyring.asc] https://pkg.jenkins.io/debian-stable binary/ | sudo tee /etc/apt/sources.list.d/jenkins.list > /dev/null
sudo apt-get update
sudo apt-get install jenkins -y

sudo systemctl start jenkins
sudo systemctl enable jenkins

sudo apt-get update
sudo apt-get install docker.io -y
sudo systemctl start docker
sudo systemctl enable docker
🎯Choose "Create launch template". Below you can see the template is created.


🎯Create 3 Instances using Launch Template, there is an option that shows the number of instances to be launched.
To launch three instances using the launch template
In the Amazon EC2 console, choose "Launch instance from templates" in the left navigation pane.

🎯Select the launch template that you just created.
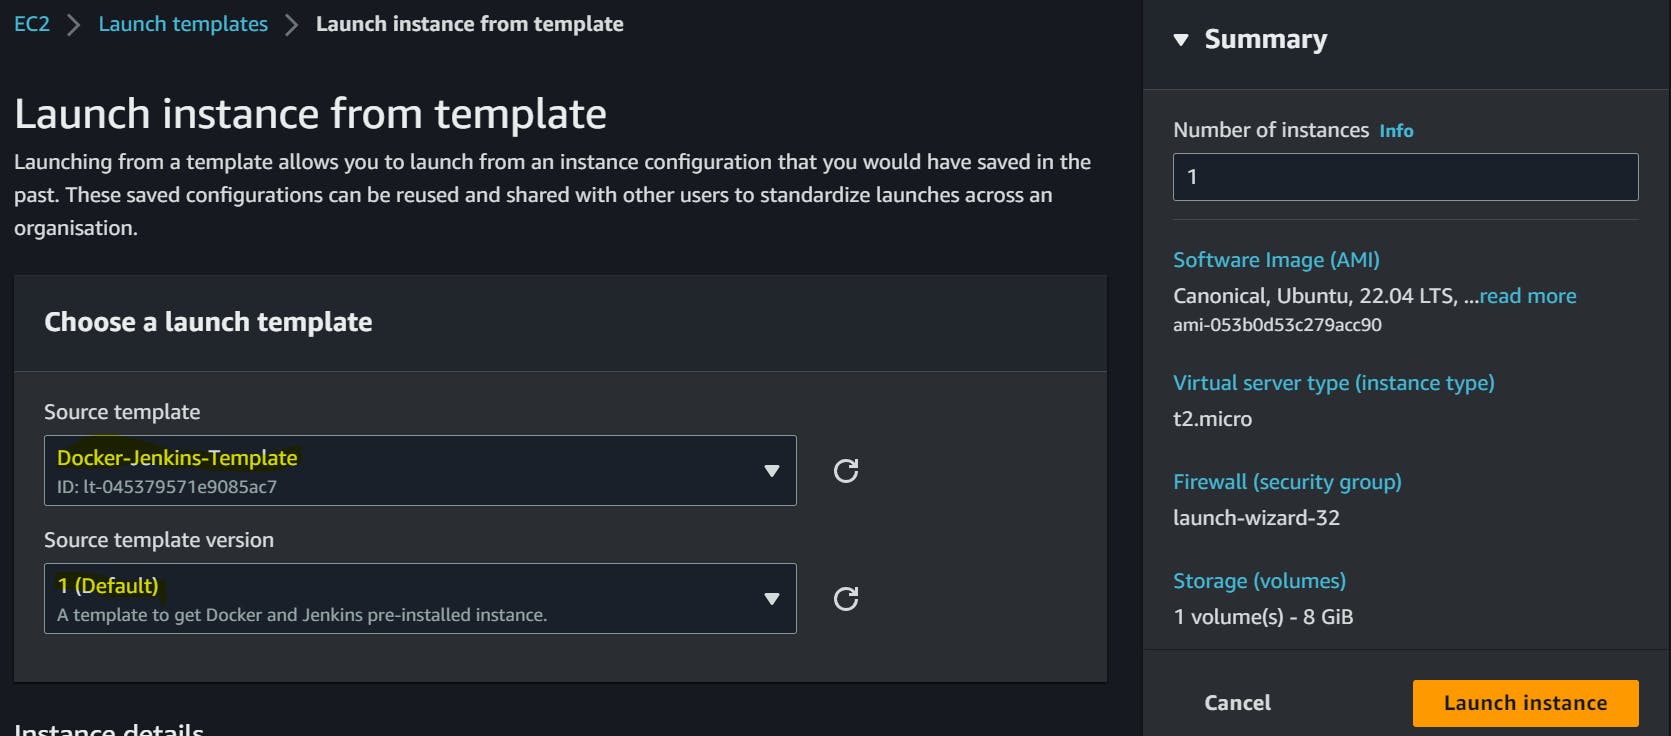
🎯Specify the number of instances you want to launch in the "Number of instances" field on the right side.
🎯Choose "Launch instances" to launch the instances.

When you navigate to instances, you can see three instances created from a template.

We can make sure that our required configurations are pre-installed as per user data.
🎯When we hit instance ip with 8080 port, we can see this web page.
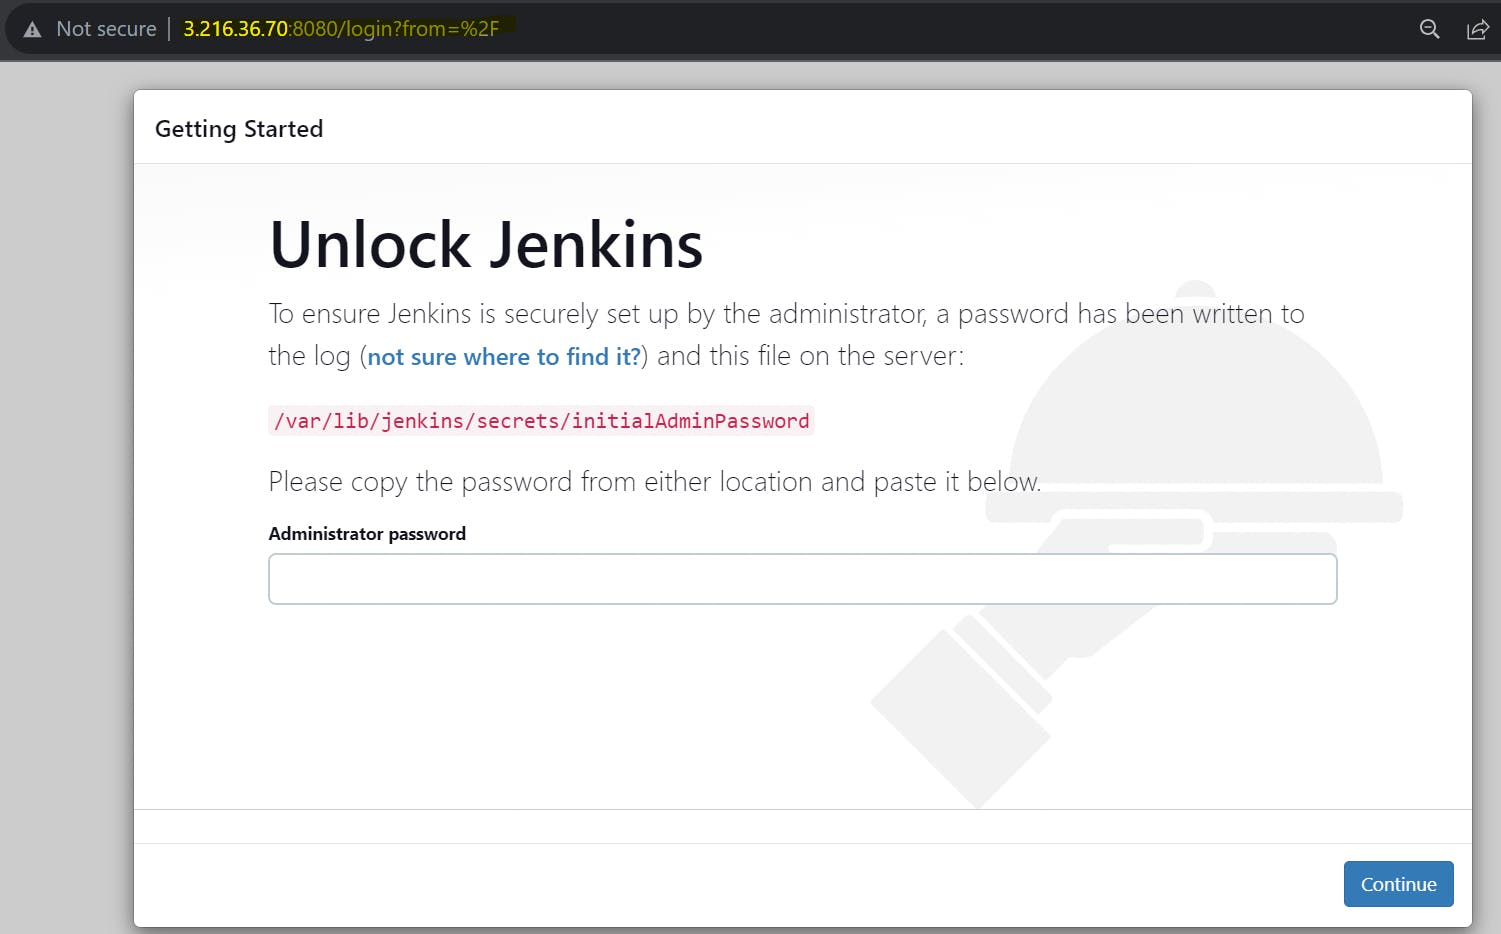
Also, we can confirm the same by connecting to any instance through SSH.


📢Task2:
Create an auto-scaling group:
Let's create ASG(Auto Scaling Group) and make the process more automated depending on the usage.
🎯In the left navigation pane, choose "Auto Scaling Groups".
🎯Choose "Create Auto Scaling Group".

🎯In the "Create Auto Scaling Group" page, enter a name for the auto-scaling group.
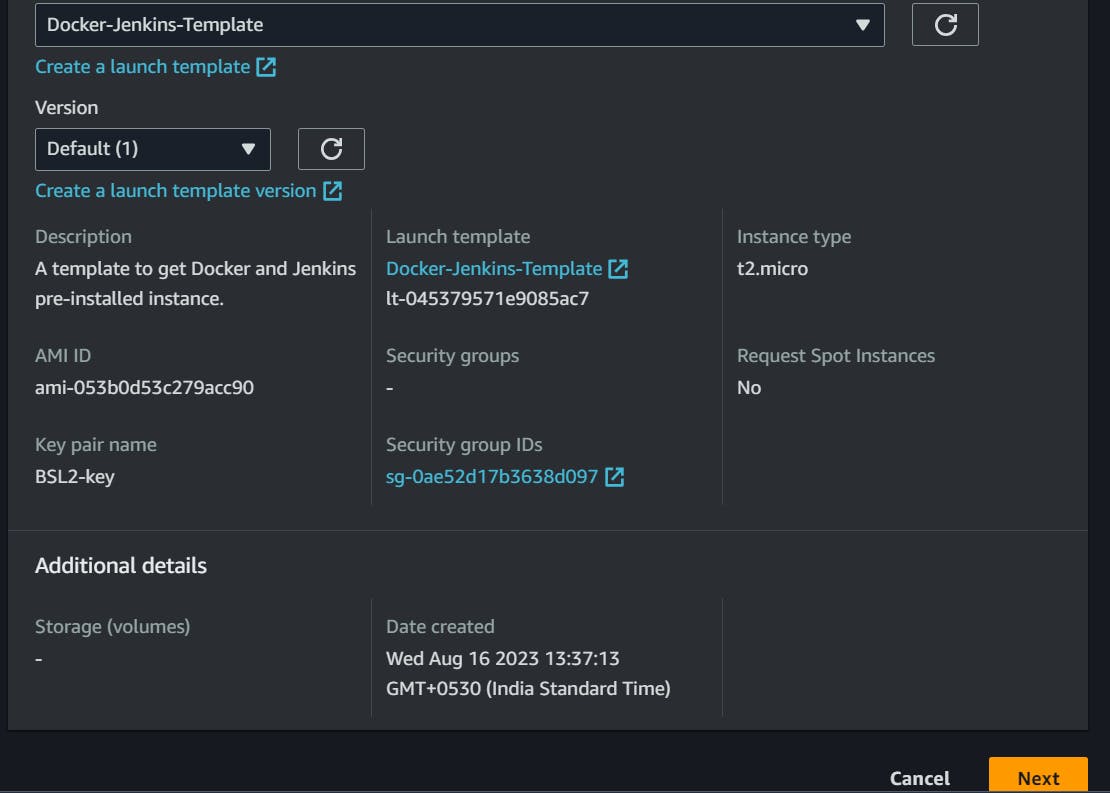
🎯For "Launch Template", choose the launch template we created earlier.

🎯For "Network", choose the VPC and subnet you want the instances to launch in.

🎯For "Load balancing", choose any option as per your requirement. Here I don't need any Load Balancer.

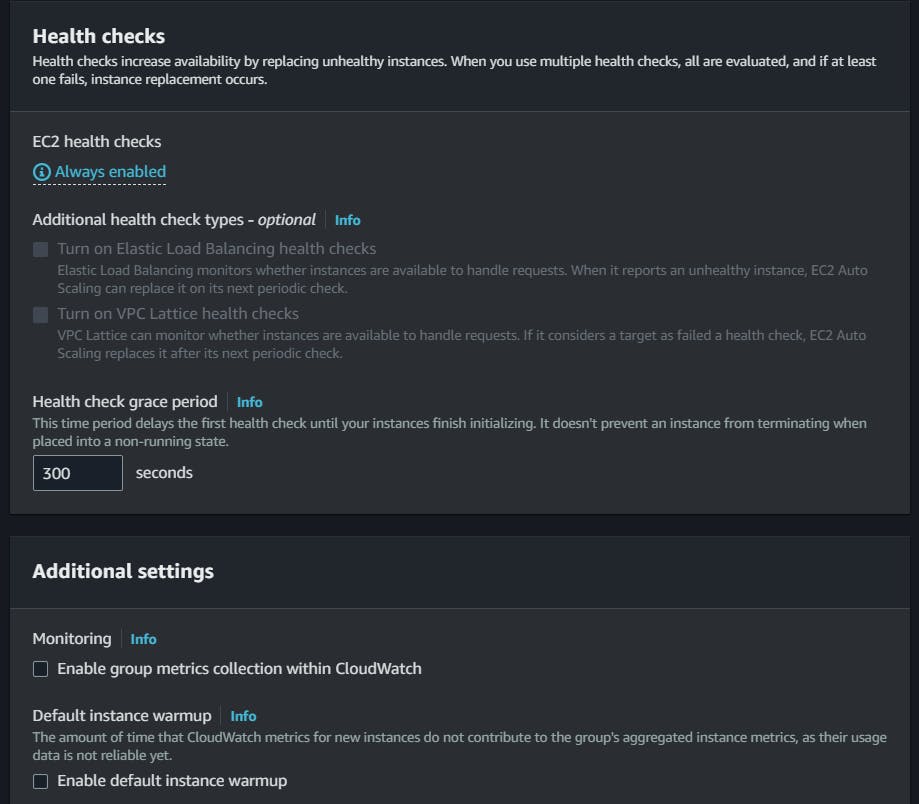
🎯In the Health Check section, keep things as it is.
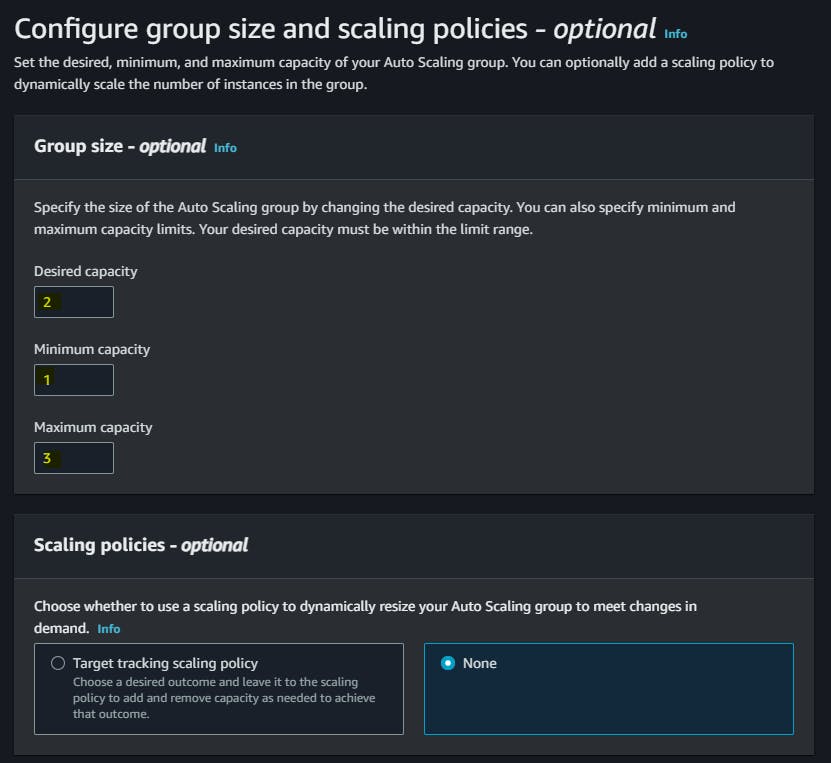
🎯In the "Group Size" page, enter the desired capacity for the auto-scaling group, such as 2.
🎯Now, choose "Create Auto Scaling Group" to create the auto-scaling group.
An autoscaling group is created.

After a few moments, the auto-scaling group will launch the desired number of instances based on the launch template and the configuration you specified. Below are two new instances launched by the auto-scaling group(ASG-1 & ASG-2).

When the utilization increases or decreases, the instances are scaled up or down automatically, based on the criteria you have given.
In this blog, I have discussed how to automate EC2 instance creation using Launch Templates and Auto Scaling Groups. If you have any questions or would like to share your experiences, please leave a comment below. Don't forget to read my blogs and connect with me on LinkedIn and let's have a conversation.
In the next blog post, we will explore more advanced topics in the realm of DevOps. So, stay tuned and let me know if there is any correction.
please feel free to connect.
Git Hub Repo: https://github.com/ShubhamBMatere/90DaysOfDevOps/tree/master/2023/day40
Thank you for reading!